Setup Guide
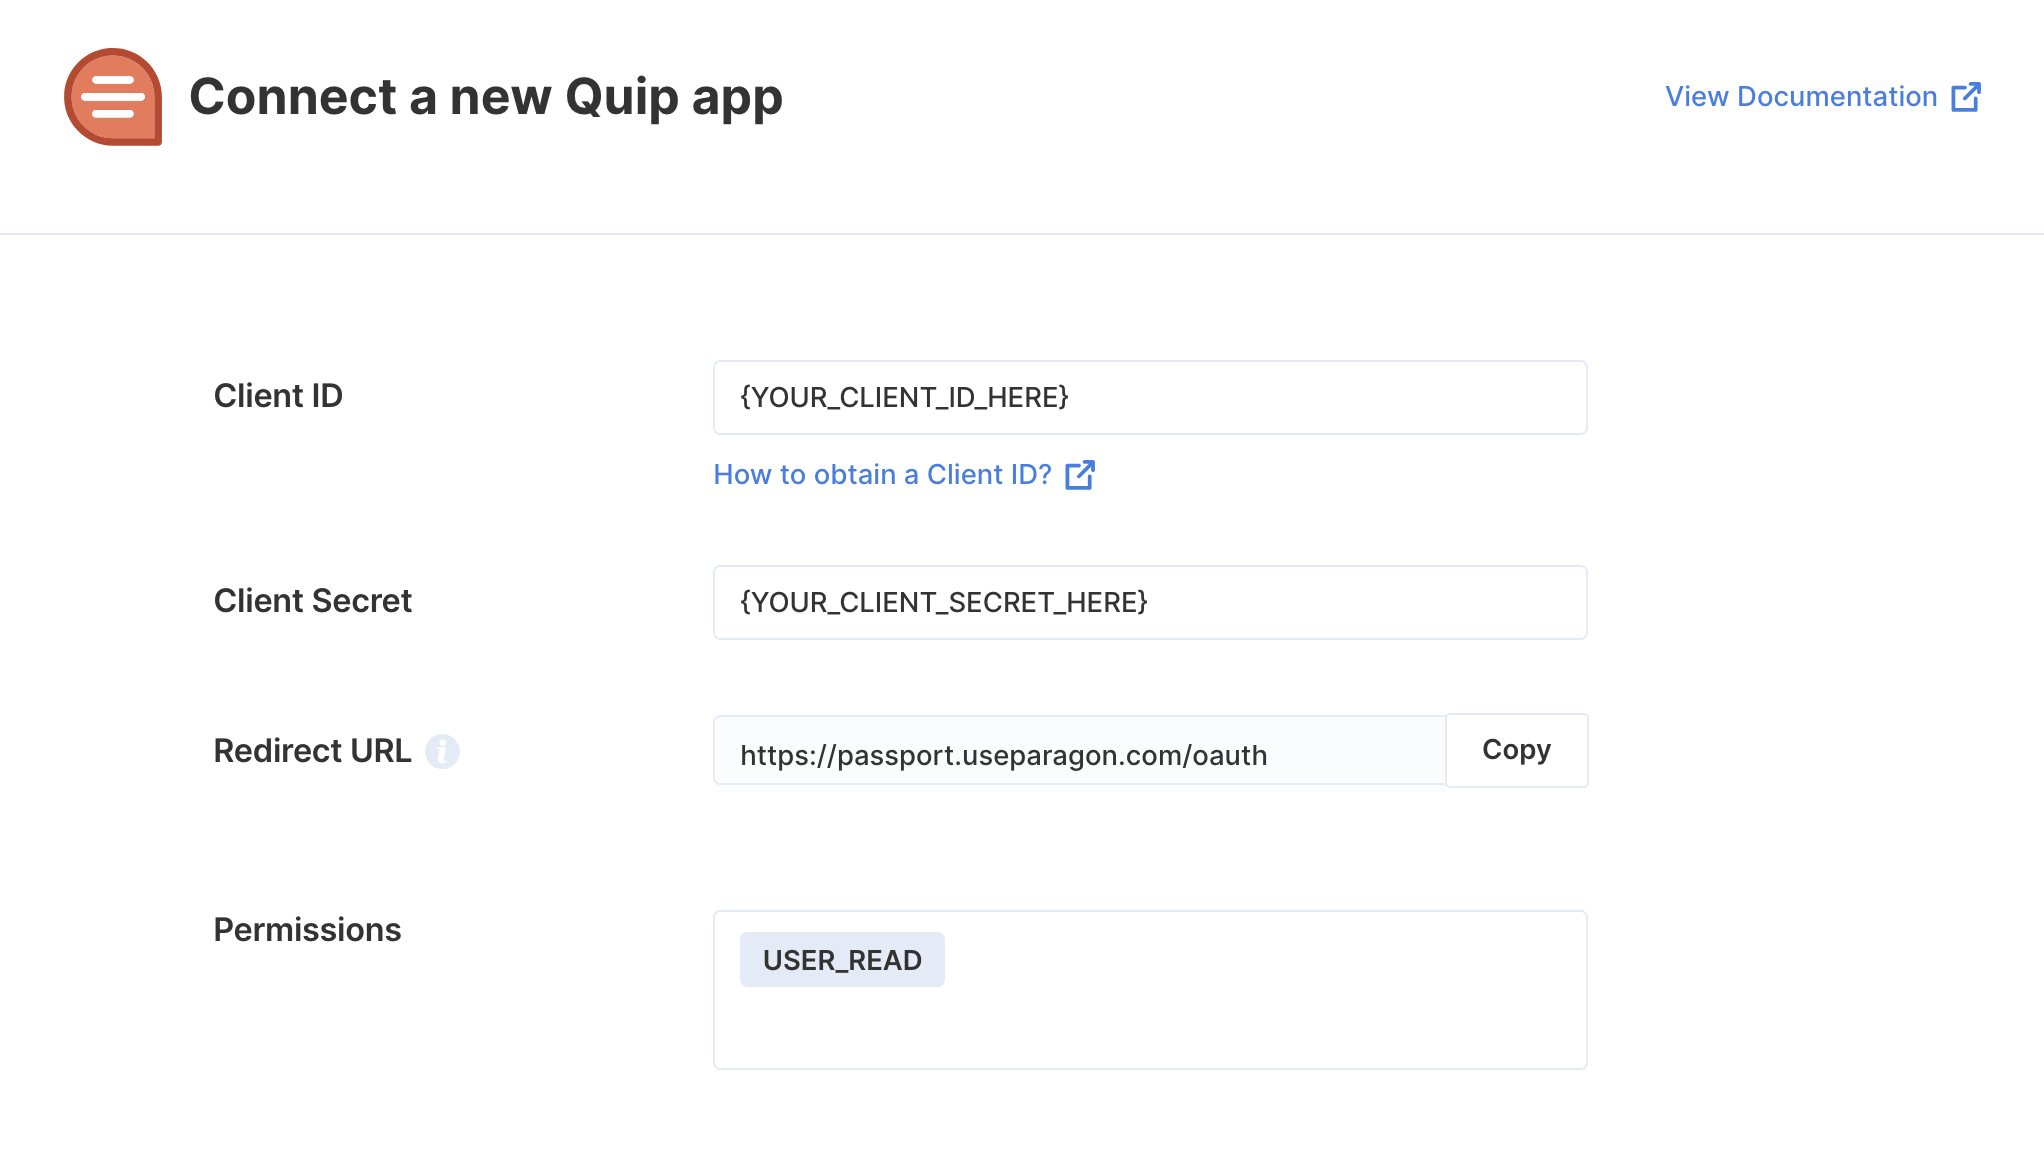
You can find your Quip app credentials in your Quip Developer Account. You’ll need the following information to set up your Quip App with Paragon Connect:- Client ID
- Client Secret
- Scopes Requested
Add your Quip app to Paragon
Under Integrations > Connected Integrations > Quip > App Configuration > Configure, fill out your credentials from your developer app in their respective sections:- Client ID: Found under Client ID on your Quip App page.
- Client Secret: Found under Client Secret on your Quip App page.
- Permissions: Select the scopes you’ve requested for your application. For a list of recommended scopes, please view this integration within your Paragon dashboard. View dashboard.
Leaving the Client ID and Client Secret blank will use Paragon development keys.

Connecting to Quip
Once your users have connected their Quip account, you can use the Paragon SDK to access the Quip API on behalf of connected users. See the Quip REST API documentation for their full API reference. Any Quip API endpoints can be accessed with the Paragon SDK as shown in this example.Building Quip workflows
Once your Quip account is connected, you can add steps to perform the following actions:- Get Thread by ID
- Get Recent Threads
{{ to invoke the variable menu.