Setup Guide
Select an authentication strategy for your users
Selecting an authentication strategy is the first step to building a NetSuite integration on Paragon. Paragon supports three methods for authenticating against your users’ NetSuite systems, Authorization Code, Client Credentials, and Client Credentials with User Certificates. Your selection will affect the user experience of your connected users.
-
Authorization Code – Paragon will use the Client ID and Client Secret from the NetSuite integration record you create to initiate OAuth 2.0 flow on behalf of your connecting users.
-
Client Credentials – your connecting users are required to create their own NetSuite integration record within their NetSuite instances.
-
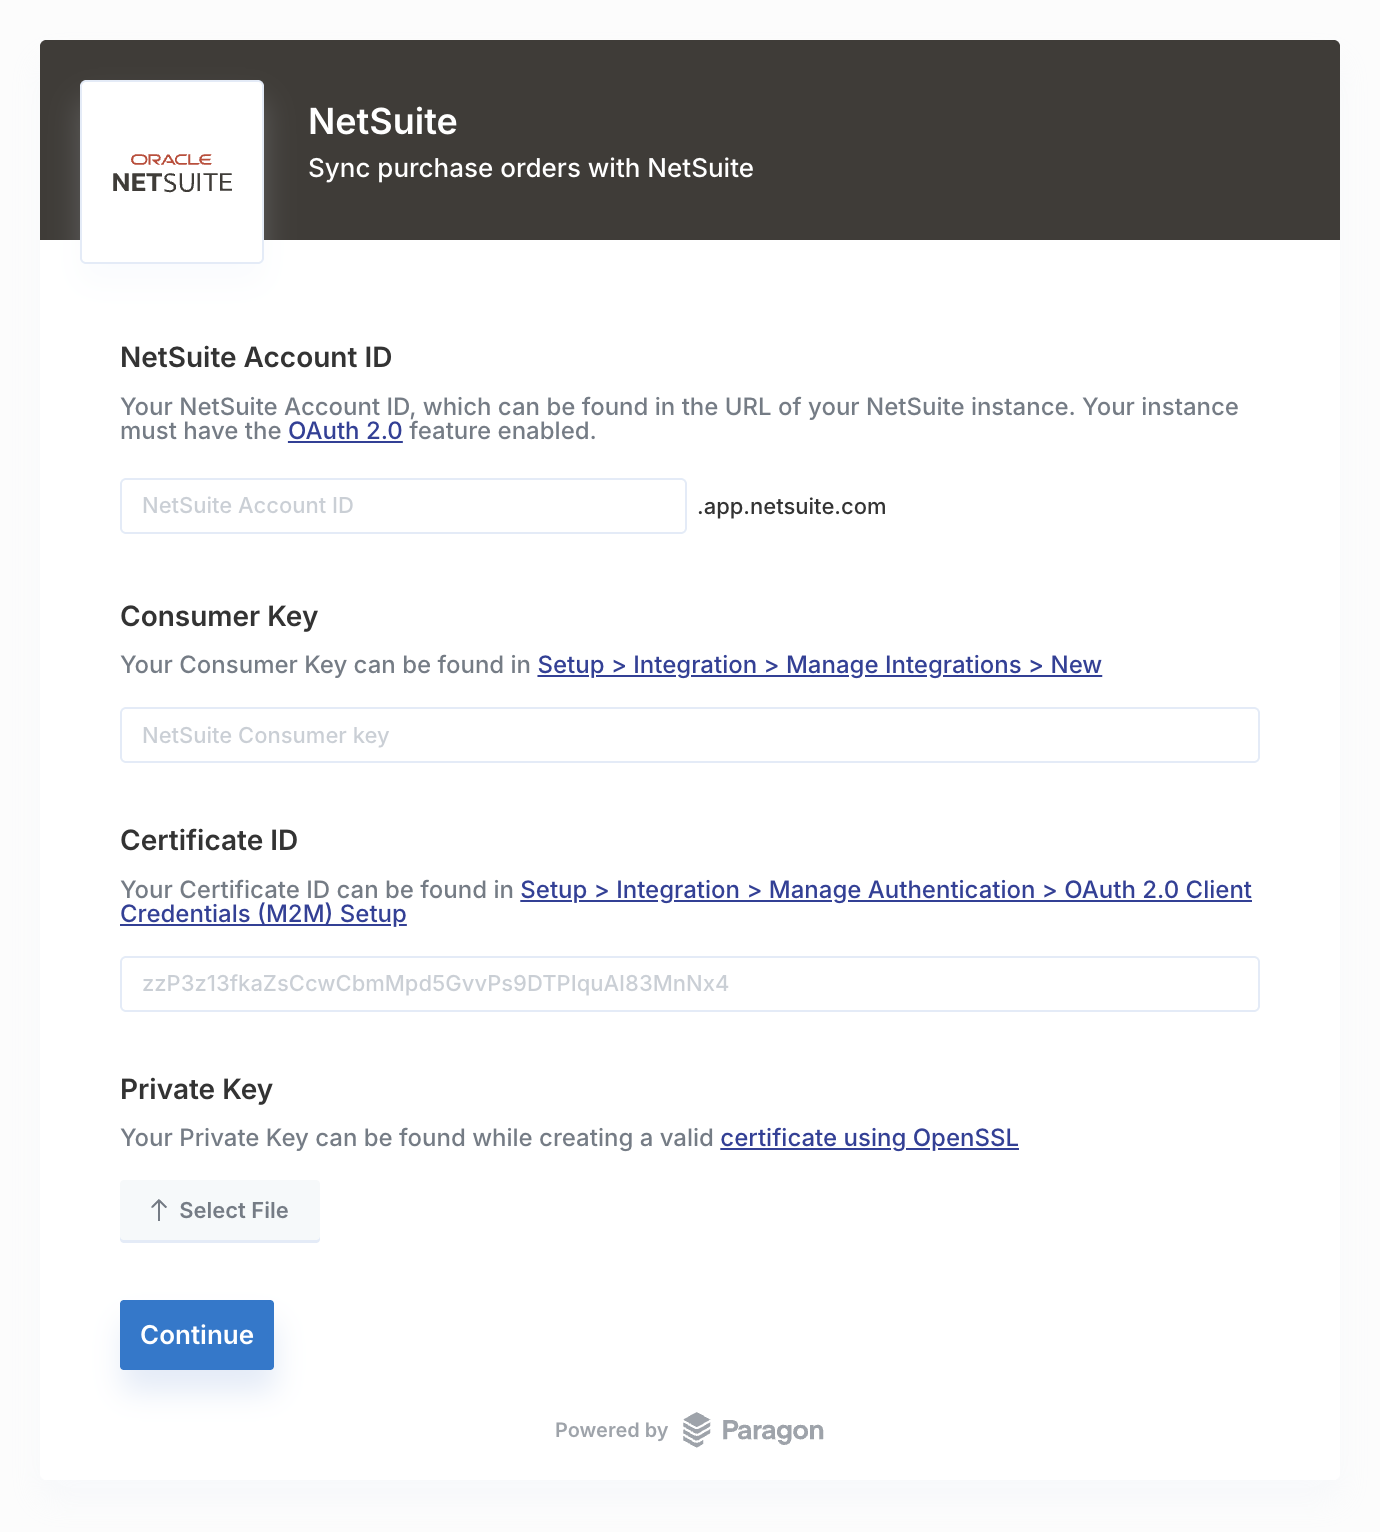
Client Credentials with User Certificates – your connecting users are required to create their own NetSuite integration record and additionally generate a certificate to authenticate requests.
How do I choose which authentication strategy to use?
We recommend developers who want to perform a one-time ingestion of records use the Authorization Code method to optimize for a more seamless user experience for your connecting users. For use-cases that require a longer, persisted connection, we recommend using the Client Credentials with User Certificates method.
| Authentication Lifetime | User Effort |
|---|
| Authorization Code | Requires user re-authentication every 14 days | Lowest effort. Consent access via OAuth prompt. |
| Client Credentials | Requires user re-authentication every 14 days | Medium effort. Required to create an integration record in NetSuite. |
| Client Credentials with User Certificates | Two years | Highest effort. Required to create an integration record in NetSuite and generate a certificate. |
Preparing your NetSuite test instance for Paragon
Enabling the OAuth 2.0 and SuiteScript features in NetSuite are the first steps for configuring your NetSuite sandbox instance with Paragon Connect. This setup in NetSuite will mimic what all of your connecting users will have to do when connecting to your integration regardless of the authentication strategy selected.
-
Navigate to Setup > Company > Enable Features then select the SuiteCloud tab.
-
Check the boxes for enabling Client SuiteScript, Server SuiteScript, and OAuth 2.0.
-
Click Save.
Creating a NetSuite integration record for Authorization Code and Client Credentials
When using Authorization Code authentication, you as the developer must perform the following steps. When using Client Credentials, you must instruct your connecting users through the following steps.
-
Add a Name, a Description, and click to change the State dropdown to Enabled.
-
Enable the Token-Based Authentication checkbox, Authorization Code Grant, and Public Client options under Authorization.
-
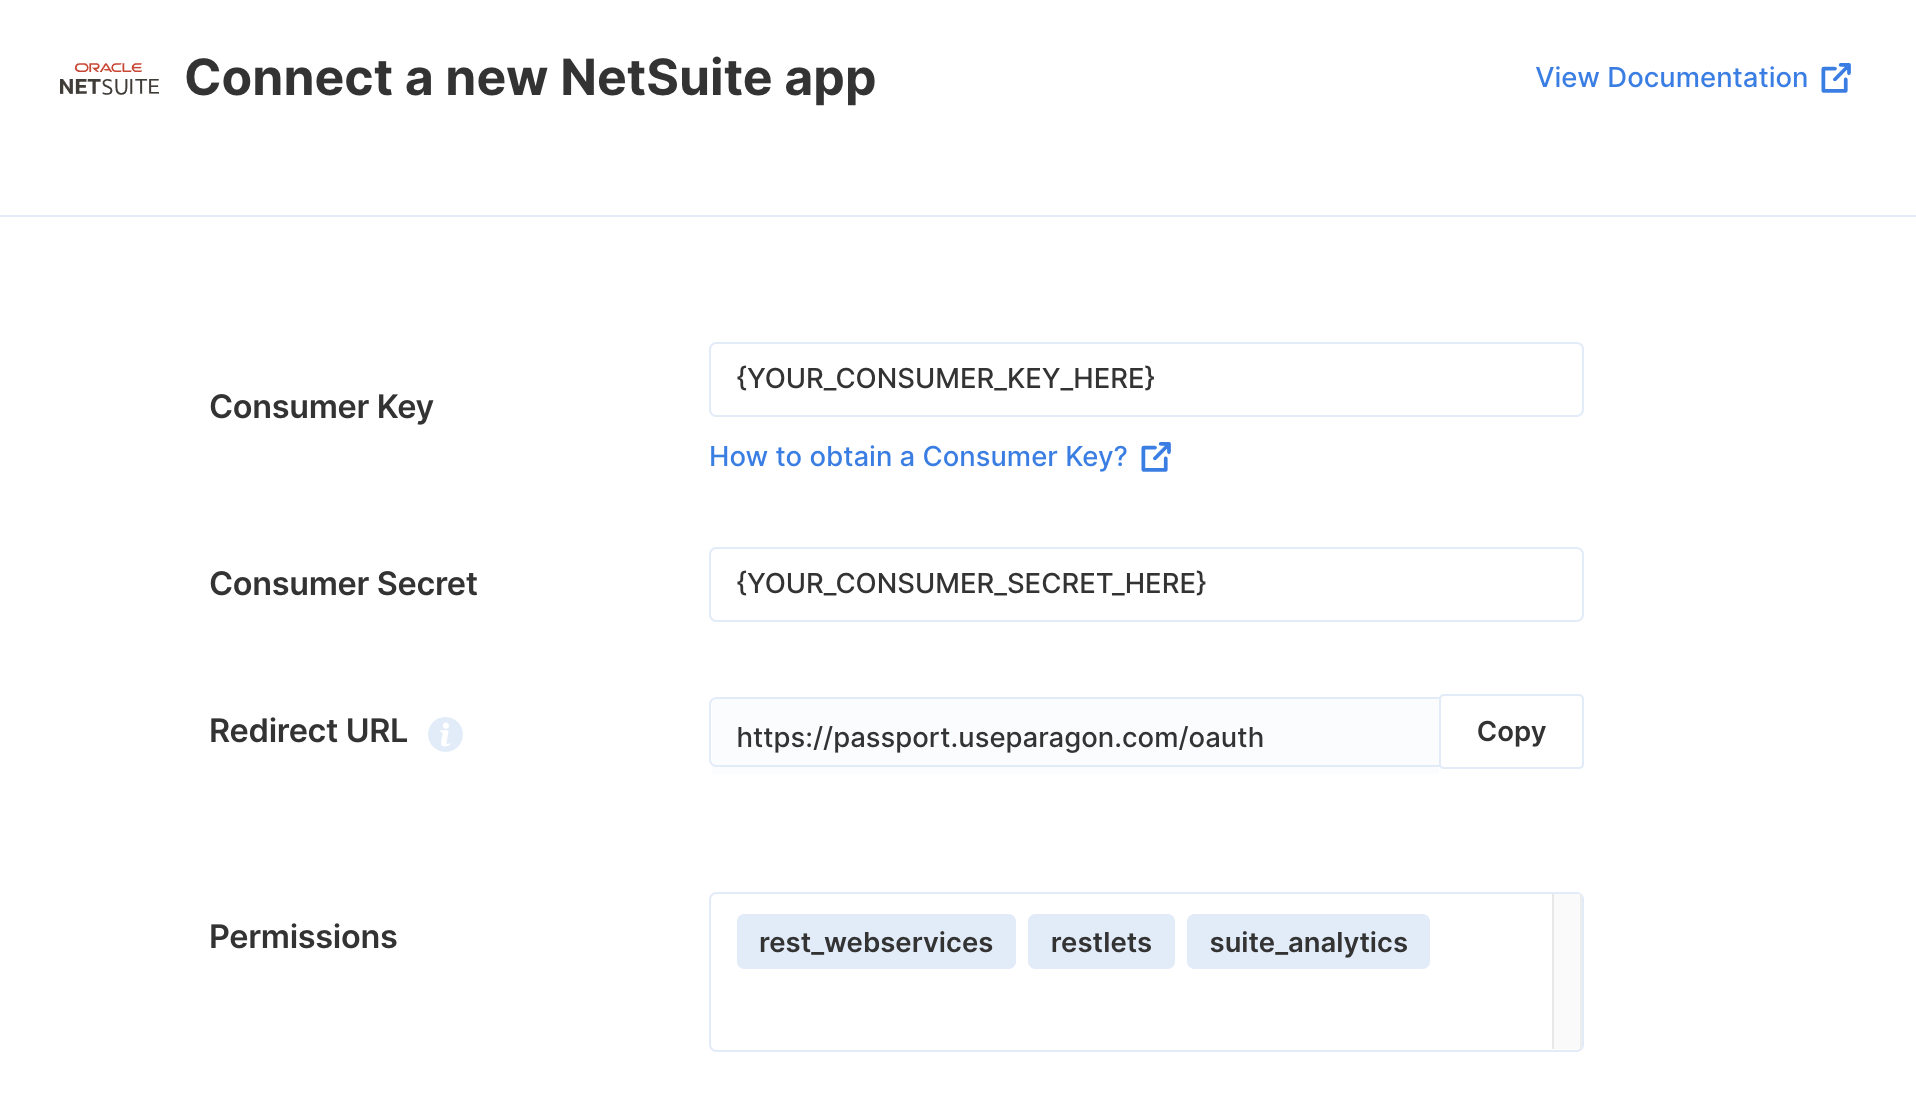
Add the Paragon Redirect URL
https://passport.useparagon.com/oauth
-
Select the three scopes:
RESTLETS, REST WEB SERVICES, and SUITEANALYTICS.
-
Retain the following details from the NetSuite application registration to set up your NetSuite integration record with Paragon Connect:
-
Consumer Key
-
Consumer Secret
-
Scopes Requested
Creating a NetSuite integration record and certificate mapping for Client Credentials with User Certificates
The following section covering Client Credentials with User Certificates requires the Connecting User to perform the steps.
Create your NetSuite integration credentials in your NetSuite instance’s Integration Management Settings. This is found under Setup > Integration > Manage Integrations > New.
-
Add a Name, a Description, and click to change the State dropdown to Enabled.
-
Disable TBA: Authorization Flow, then Token-Based Authentication, and Authorization Code Grant checkboxes.
-
Enable Client Credentials (Machine to Machine) Grant.
-
Select the
REST WEB SERVICES scope.
-
Save the app and retain the Consumer Key from the NetSuite integration registration to set up your NetSuite integration with Paragon Connect:
Generating a Certificate
After creating the integration record in NetSuite, the connecting user is required to generate an openssl certificate for upload at the time of integration connection.
-
On your local machine, create a certificate following these conditions enforced by NetSuite. Paragon currently only supports authentication of certificates created using the RSA algorithm. This will create two files, a
public.pemand a private.pem.
openssl req -new -x509 -newkey rsa:4096 -keyout private.pem -sigopt rsa_padding_mode:pss -sha256 -sigopt rsa_pss_saltlen:64 -out public.pem -nodes -days 730
-
In NetSuite navigate to Setup > Integration > OAuth 2.0 Client Credentials (M2M) Setup and then select Create New.
-
Select an Entity to own the OAuth Mapping, their role, and the OAuth app created in the previous section. For the Certificate input, upload the
public.pem from step one. Save the mapping.
- If encountering an “Unable to parse provided x509 certificate” error, use a stable version of
openssl downloaded via Homebrew for macOS.
After generating the NetSuite integration record and completing the certificate mapping, the connecting user is ready to connect the integration via the Paragon Connect Portal.
Authorization Code: Add your NetSuite app to Paragon
In the Paragon Dashboard under Integrations > Connected Integrations > NetSuite > Settings, fill out your credentials from your NetSuite integration record in their respective sections:
-
Client ID: Found under Setup > Integration > Manage Integrations in your NetSuite integration record page.
-
Client Secret: Found under Setup > Integration > Manage Integrations on your NetSuite integration record page.
-
Permissions: Select the scopes you’ve requested for your application. For a list of recommended scopes, please view this integration within your Paragon dashboard. View dashboard.
Leaving the Client ID and Client Secret blank will use Paragon Authorization Code development integration record.
Connecting to NetSuite
Once your users have connected their NetSuite account, you can use the Paragon SDK to access the NetSuite API on behalf of connected users.
See the NetSuite REST API documentation for their full API reference.
Any NetSuite API endpoints can be accessed with the Paragon SDK as shown in this example.
// You can find your project ID in the Overview tab of any Integration

// Authenticate the user
paragon.authenticate(<ProjectId>, <UserToken>);

// Get a list of purchase orders filtered by a search
paragon.request("netsuite", "/purchaseOrder?q=[Query]", {
  method: "GET"
});

// Get a list of vendors
paragon.request("netsuite", "/vendor", {
  method: "GET"
});
Building NetSuite workflows
Once your NetSuite account is connected, you can add steps to perform the following actions:
- Create Vendor
- Update Vendor
- Get Vendor by ID
- Search Vendors
- Delete Vendor
- Create Bill
- Update Bill
- Get Bill by ID
- Search Bills
- Delete Bill
- Create Account
- Update Account
- Get Account by ID
- Search Accounts
- Delete Account
- Create Tax Group
- Update Tax Group
- Get Tax Group by ID
- Delete Tax Group
- Search Tax Codes
- Search Payment Terms
- Get Payment Term by ID
- Search Posting Periods
You can also use the NetSuite Request step to access any of NetSuite’s API endpoints without the authentication piece.
When using NetSuite, you can reference data from previous steps by typing {{ to invoke the variable menu.
