Setup Guide
You can find your Mailchimp app credentials by visiting your Mailchimp Account Settings.Note: You’ll need to create a new Mailchimp app if you don’t already have one.
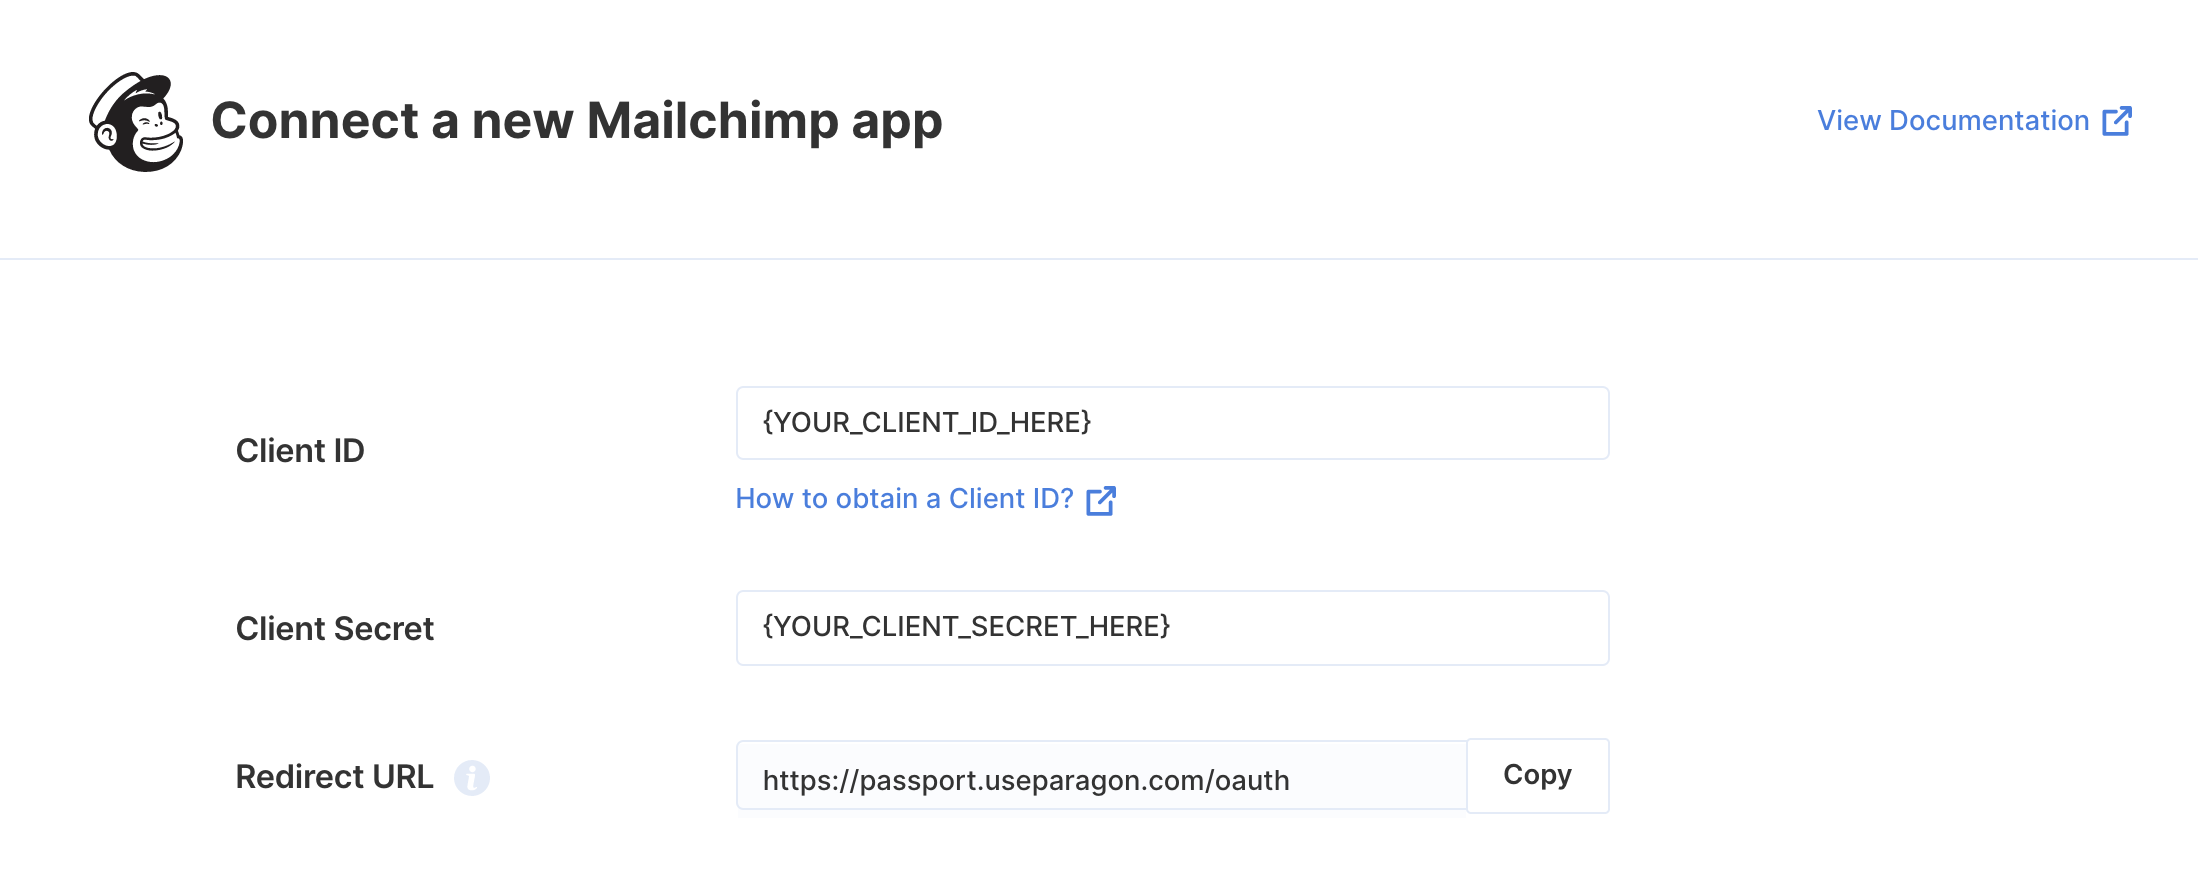
- Client ID
- Client Secret
Add the Redirect URL to your Mailchimp app
Paragon provides a redirect URL to send information to your Mailchimp app. To add the redirect URL to your Mailchimp app:- Copy the link under “Redirect URL” in your integration settings in Paragon. The Redirect URL is:
- Click your account by selecting the account icon.
- Select Account from the dropdown list.
- Under Extras > Registered apps, select your application or create a new one if you don’t already have one.
- Under Redirect URI, paste-in the redirect URL from Paragon. The redirect URL can be found in Step 1.
-
Press the green
Updatebutton to confirm your changes.
Add your Mailchimp app to Paragon
- Select Mailchimp from the Integrations Catalog.
- Under Integrations > Connected Integrations > Mailchimp > App Configuration > Configure, fill out your credentials in their respective sections:
-
Client ID:
- Log in to your Mailchimp dashboard.
- Select “Account” from the Account dropdown.
- Under Extras > Registered apps, select your application.
- Copy the Client ID to use in Paragon Connect.
-
Client Secret:
- Log in to your Mailchimp dashboard.
- Click on “Account” in the Account dropdown.
- Under Extras > Registered apps, select your application.
- Copy your Client ID to use in Paragon Connect.
Note: Leaving the Client ID and Client Secret blank will use Paragon development keys.
Connecting to Mailchimp
Once your users have connected their Mailchimp account, you can use the Paragon SDK to access the Mailchimp API on behalf of connected users. See the Mailchimp REST API documentation for their full API reference. Any Mailchimp API endpoints can be accessed with the Paragon SDK as shown in this example.JavaScript
Building Mailchimp workflows
Once your Mailchimp account is connected, you can add steps to perform the following actions:- Create Campaign
- Update Campaign
- Send Campaign
- Search Campaigns
- Get Campaign by ID
- Delete Campaign by ID
- Create List
- Get List by ID
- Search Lists
- Add Contact to List
- Update Contact in List
- Get Contacts from List
{{ to invoke the variable menu.
Using Webhook Triggers
Webhook triggers can be used to run workflows based on events in your users’ Mailchimp account. For example, you might want to trigger a workflow whenever new contacts are added to a Mailchimp list to sync your users’ Mailchimp contacts to your application in real-time. You can find the full list of Webhook Triggers for Mailchimp below:- Mailchimp Lists