Prerequisites
- A Klaviyo Account. You can create a test account here.
Connecting to Klaviyo
Your users will need the following information to connect their Klaviyo account with your integration built with Paragon Connect:- Klaviyo Private API Key
Creating your Klaviyo Private API Key
Your end-users will be required to enter their Klaviyo Private API Key as authentication when first connecting to your application. To create a Klaviyo Private API Key:- Login to Klaviyo Account.
- Navigate to Accounts > App Configuration > Configure > API Keys, and click the blue “Create Private API Key” button.
- Copy your private API key
- Paste your private API key to authenticate your account.
Building Klaviyo workflows
Once your Klaviyo account is connected, you can add steps to perform the following actions:- Create Campaign
- Get Campaigns
- Send Campaign
- Create List
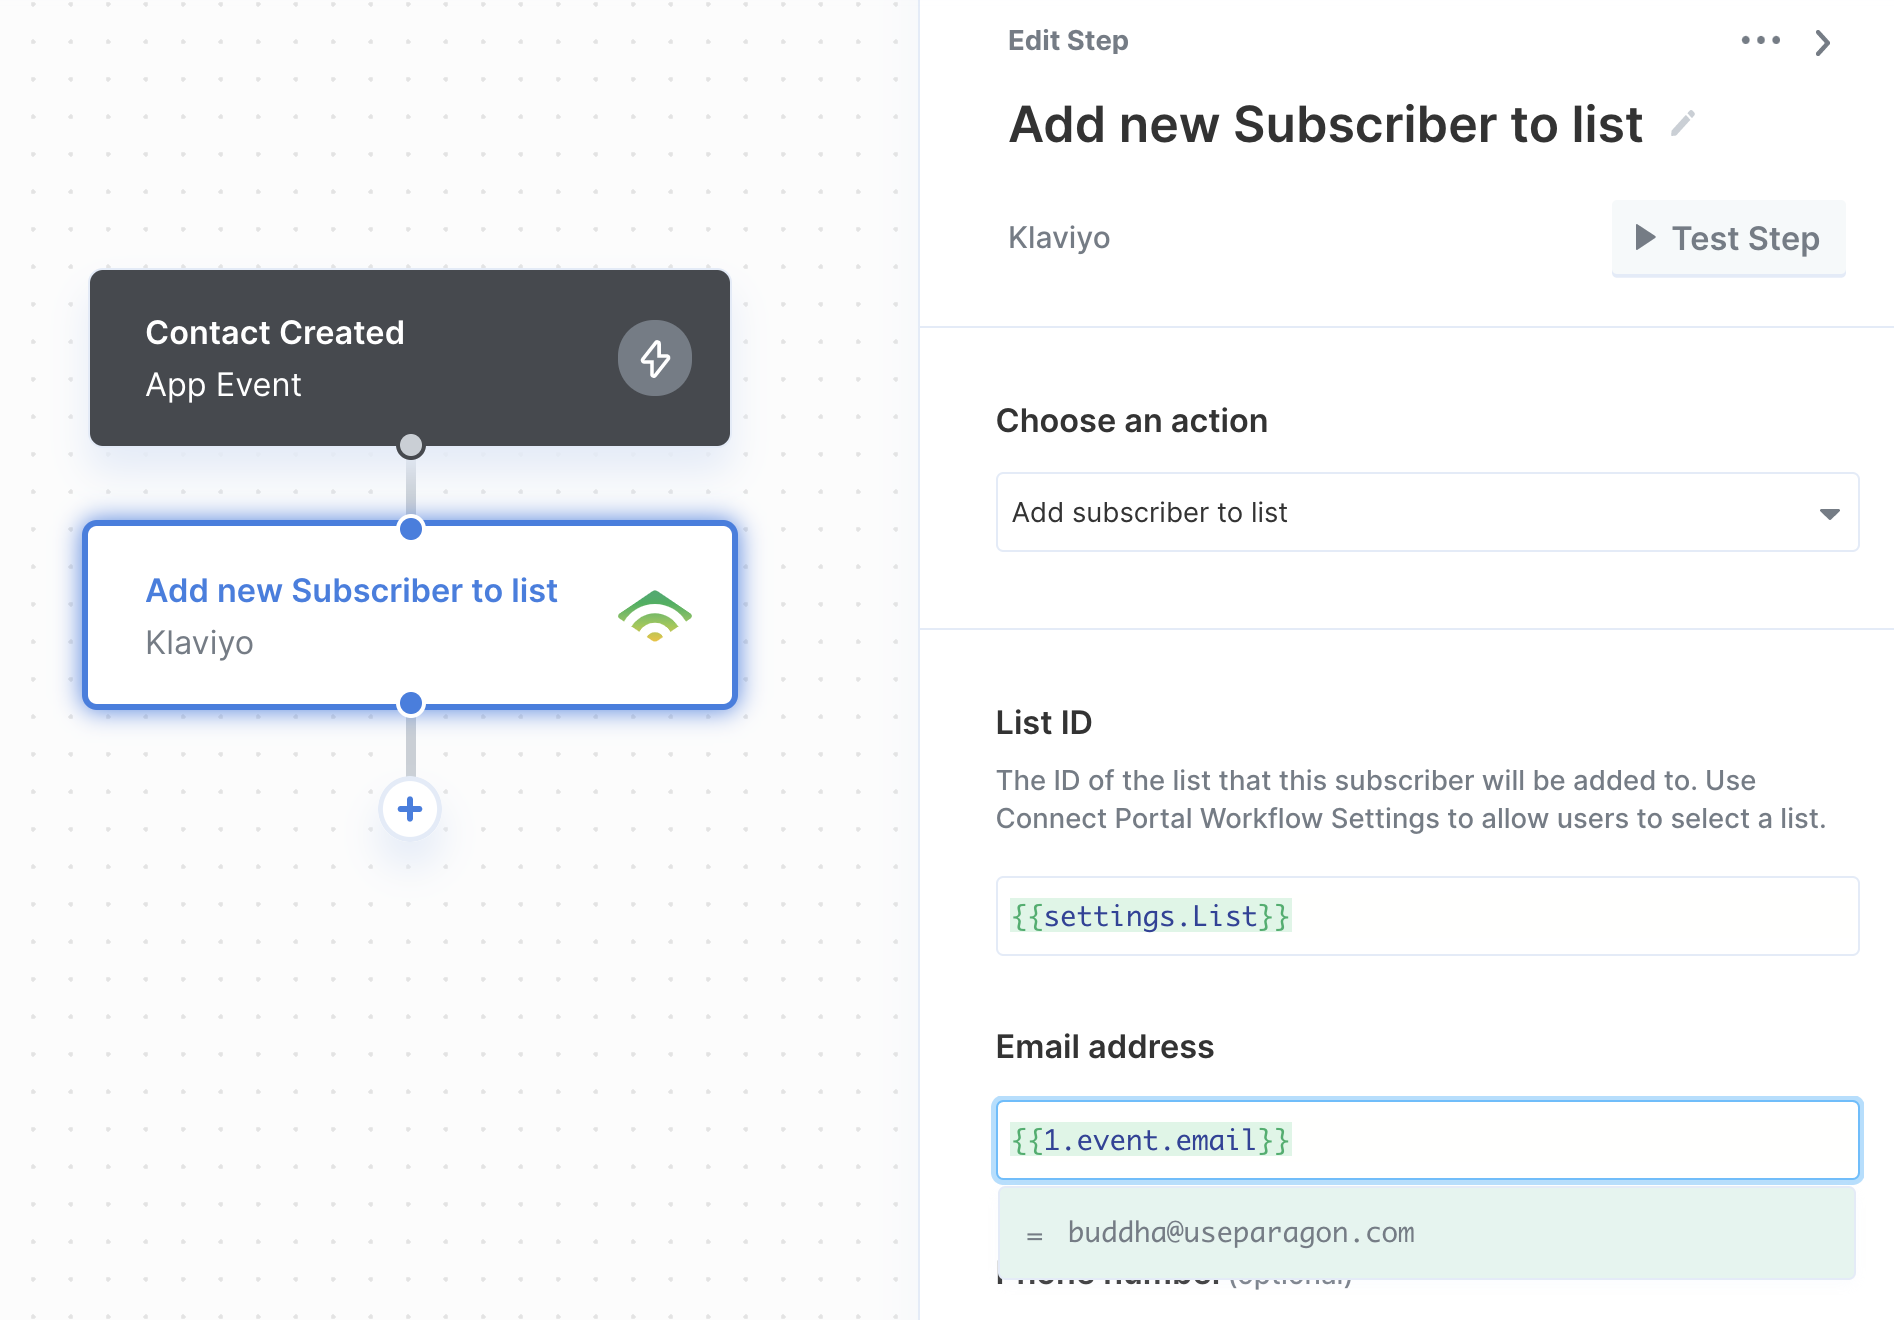
- Add Subscriber to List
- Remove Subscriber from List
- Get Lists
- Get List Subscribers
- Get Profile
- Update Profile
- Create Template
- Get Templates
- Get Segments
- Get Segment Subscribers
{{ to invoke the variable menu.