Prerequisites
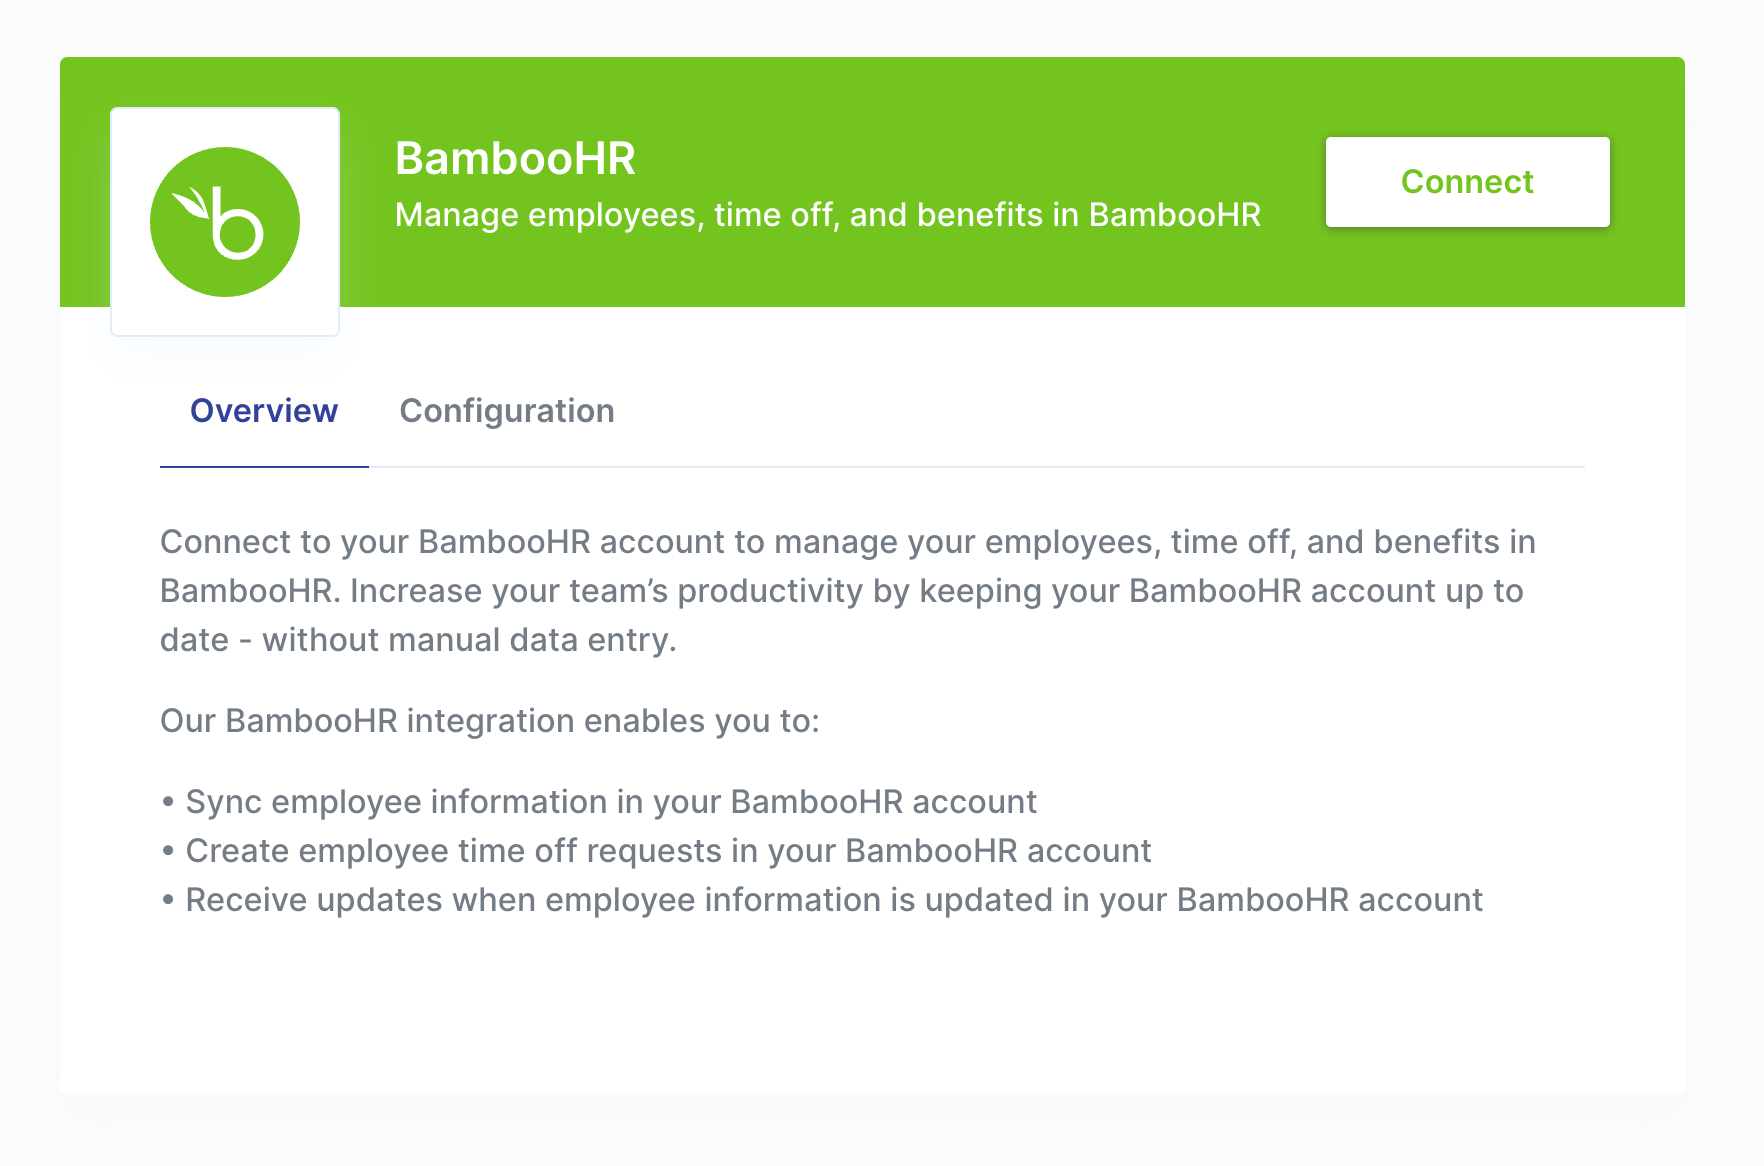
- Connect your BambooHR application to Paragon.
- Add your BambooHR app credentials to activate your integration.
1. Build your workflow
Step 1.1: Create a new BambooHR workflow
It’s important that you give your workflows a descriptive name to provide the best experience for your user.Step 1.2: Create an App Event
Since we want to pass employee data from our application to our customer’s BambooHR account, we’ll use the App Event trigger. Select the trigger step from the Workflow Editor, then click “App Event”.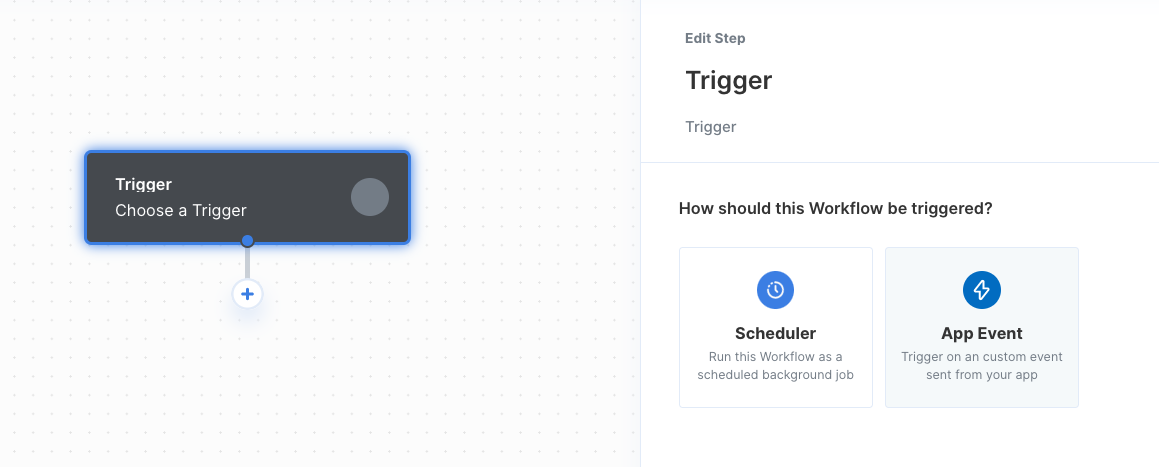
- Event Name - the name of your App Event. (e.g. Contact Created)
- Event Schema - example JSON Object that will be sent from your app. JSON objects are written in key/value pairs. Keys must be
strings, and values must be a valid JSON data type (string,number,object,array,booleanornull)
Employee Created
Step 1.3: Add a BambooHR step
Add a BambooHR step to your workflow and use the dropdown menu to selectCreate Employee as the action. You can input the fields from your App Event by typing two left curly braces {{ to bring up the dynamic variable menu.
Step 1.4: Deploy your workflow
Now that your workflow is all set up, deploy your workflow by clicking the “Deploy” button in the top-right of your screen..png?fit=max&auto=format&n=EuLlf5VxgsSnEq57&q=85&s=0068e700a1a7c00415be8e47e41c7efc)
2. Generate a Paragon Signing Key
To generate a Signing Key, go to Settings > Signing Keys in your Paragon dashboard. You should store this key in an environment secrets file.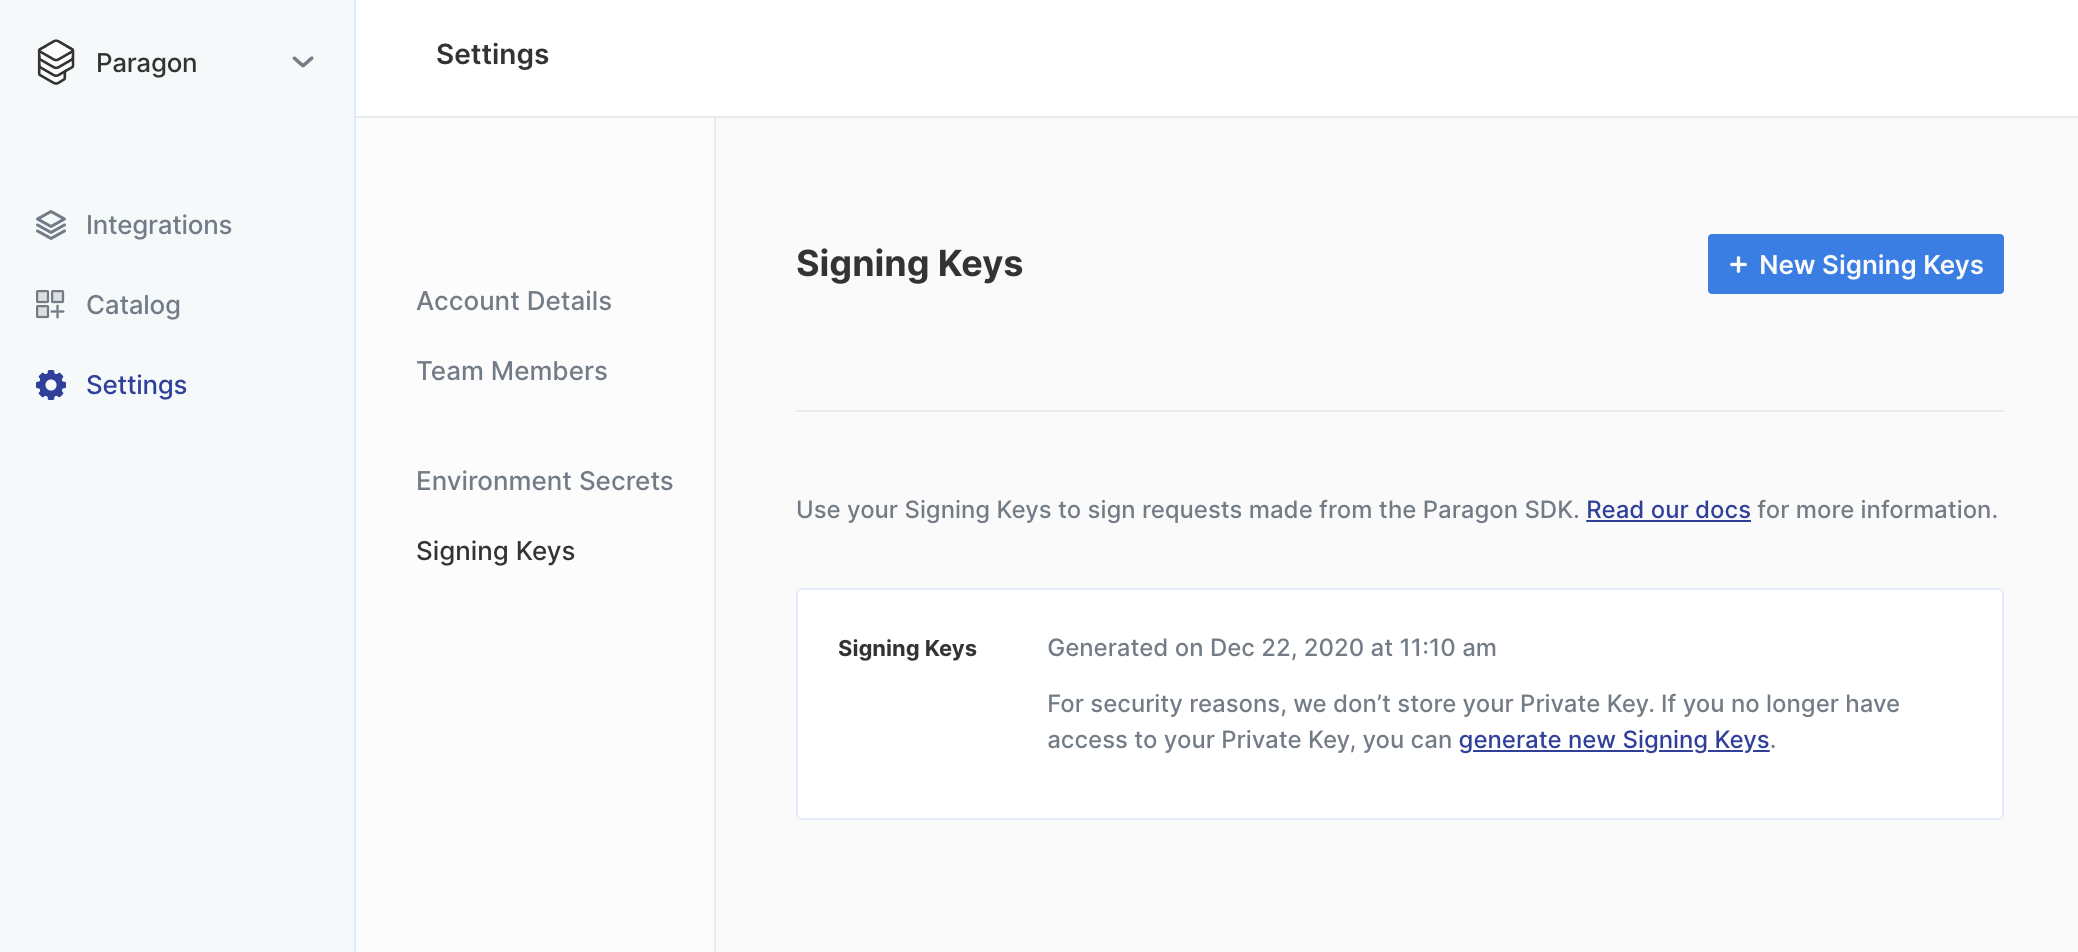
3. Install the Paragon SDK
The Paragon SDK gives you access to the Paragon global, which you can access asparagon.
You can install the Paragon SDK with npm:
Don’t want to install the SDK just yet?Use Paragon’s Hosted Demo Environment to start testing your integrations without embedding the SDK in your application. Learn more.
4. Authenticate your user
Next, you’ll need a library in your target language to sign JWTs with RS256. You can find one in your language at https://jwt.io/. If your application is a fully client-rendered single-page app, you may have to create and use an additional API endpoint to retrieve a signed JWT (or reuse an existing endpoint that handles authentication or user info).Step 4.1: Sign a Paragon User Token
The Paragon User Token is a signed JWT that minimally must include thesub, iat, and exp claims:
JavaScript
Just for testing: Generating one-off JWTsUse the Paragon JWT Generator to generate test JWTs for your development purposes. In production, static tokens should never be used.
Step 4.2: Call paragon.authenticate()
You’ll callparagon.authenticate in your view with a JWT signed by your backend using the library chosen in Step 4.1. This JWT is the Paragon user token.
paragon.authenticate should be called at the beginning of your application’s lifecycle in all cases. This is to make sure that the userToken is always as fresh as possible, with respect to your user’s existing session on your own site. You may reference Installing the Connect SDK for a detailed explanation on how to use paragon.authenticate.
5. Connect to your integration
Now that you’ve authenticated your user, you can callparagon.connect to bring up the Paragon Connect Portal.
JavaScript
Note: Toggle your workflow from the Configuration tab to enable your workflow after connecting to your BambooHR account.
6. Send an App Event
Lastly, we’ll send an App Event whenever a lead is created in your app. App Events can be sent from your application using the Paragon SDK or REST API. In both cases, you must pass two parameters:- name - the event name defined in your App Event
- payload - the event payload that should match the event schema defined in your App Event