Activating the Integration
You’ll need to mark your integration as Active for it to display to your end users. To do this, click the “Inactive” button in the top-right corner and press “Activate”.
Displaying the Connect Portal in your app
paragon.authenticate should be called at the beginning of your application’s lifecycle in all cases. This is to make sure that the userToken is always as fresh as possible, with respect to your user’s existing session on your own site. You may reference Installing the Connect SDK for a detailed explanation on how to use paragon.authenticate.
Example:
How do I find my Project ID?
How do I find my Project ID?
You can copy your Project ID by clicking Copy Project ID under the Environment switcher:
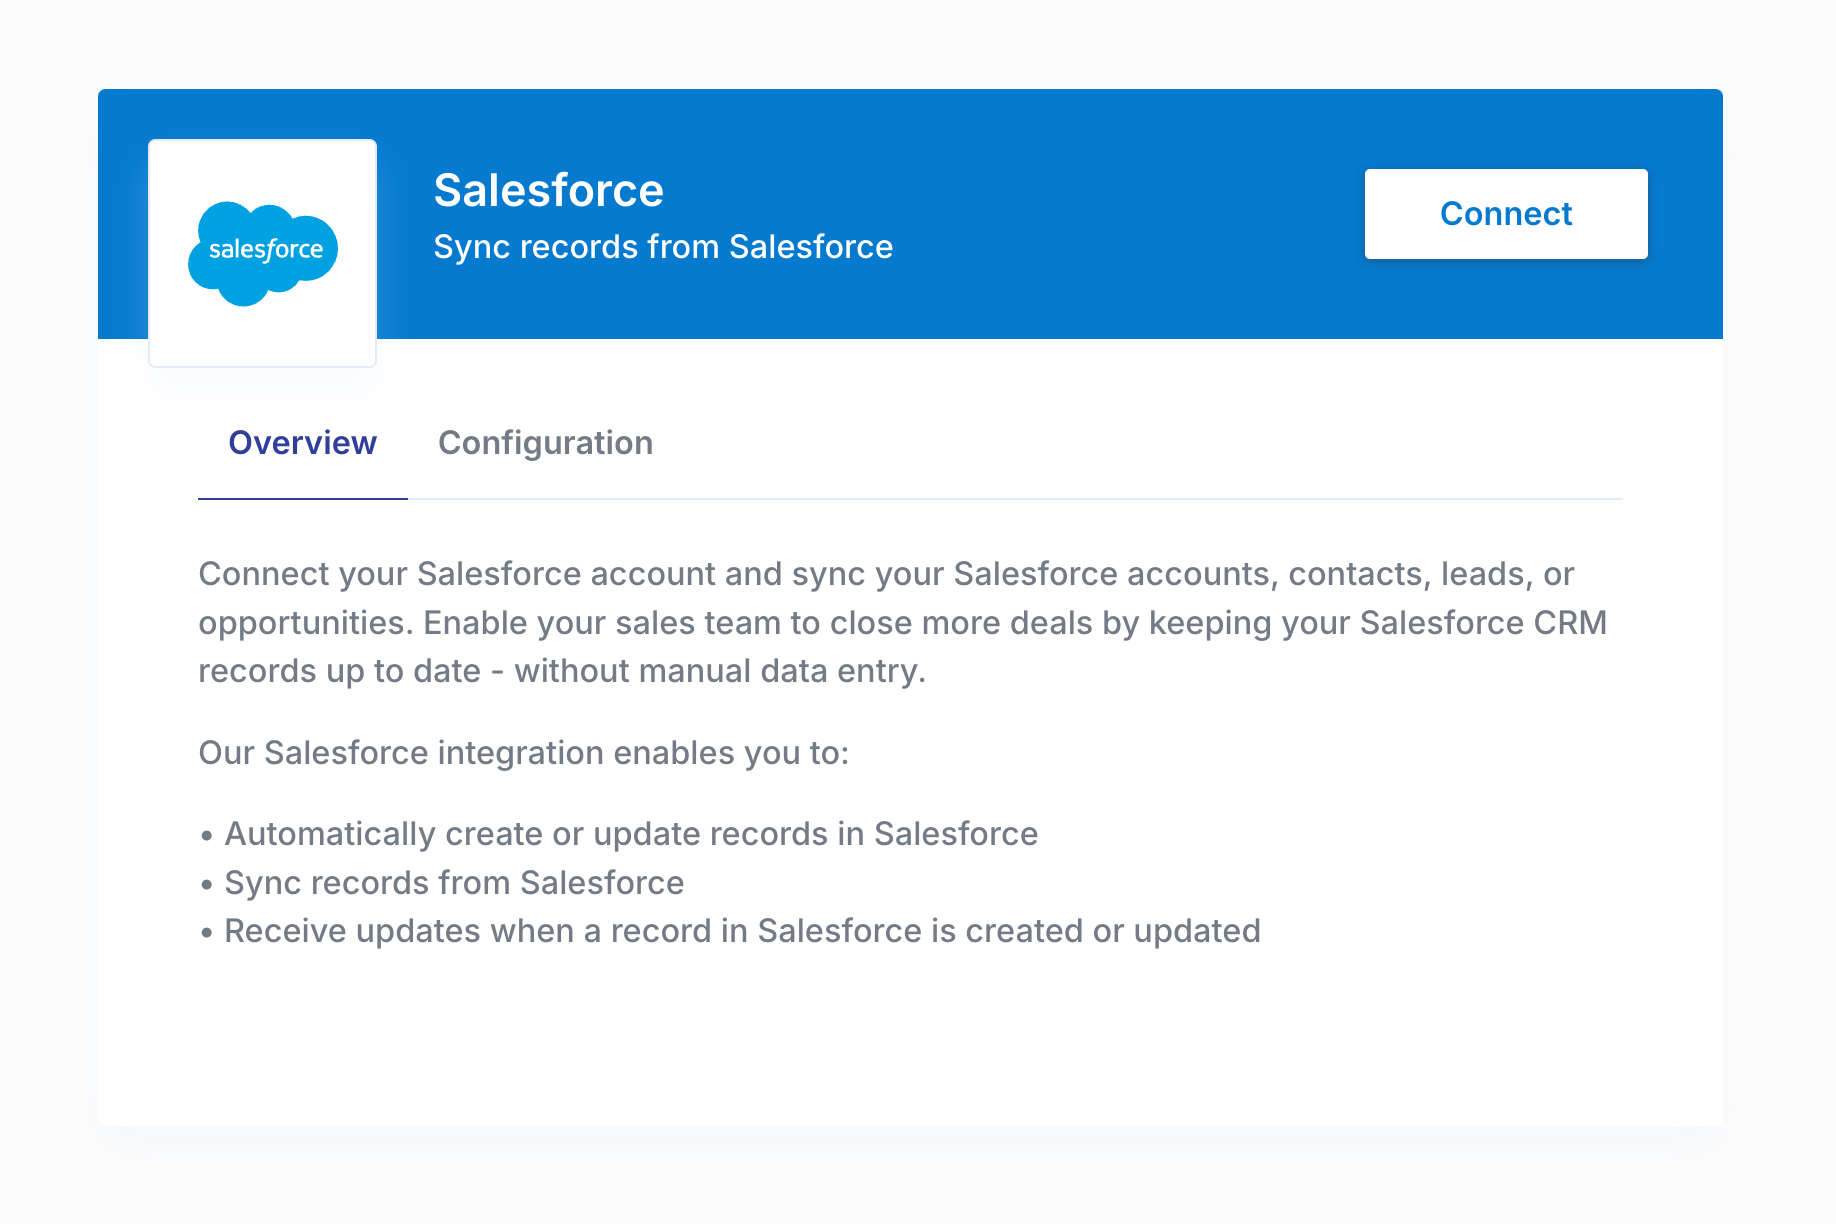
paragon.authenticate has been called and the Promise it returns has resolved, you can call paragon.connect to launch your Connect Portal for a specific integration provider. You can find the integrationType identifier you need in the Overview page for the integration.
Example:
integrationType for the Portal to appear. Otherwise, this function does nothing.
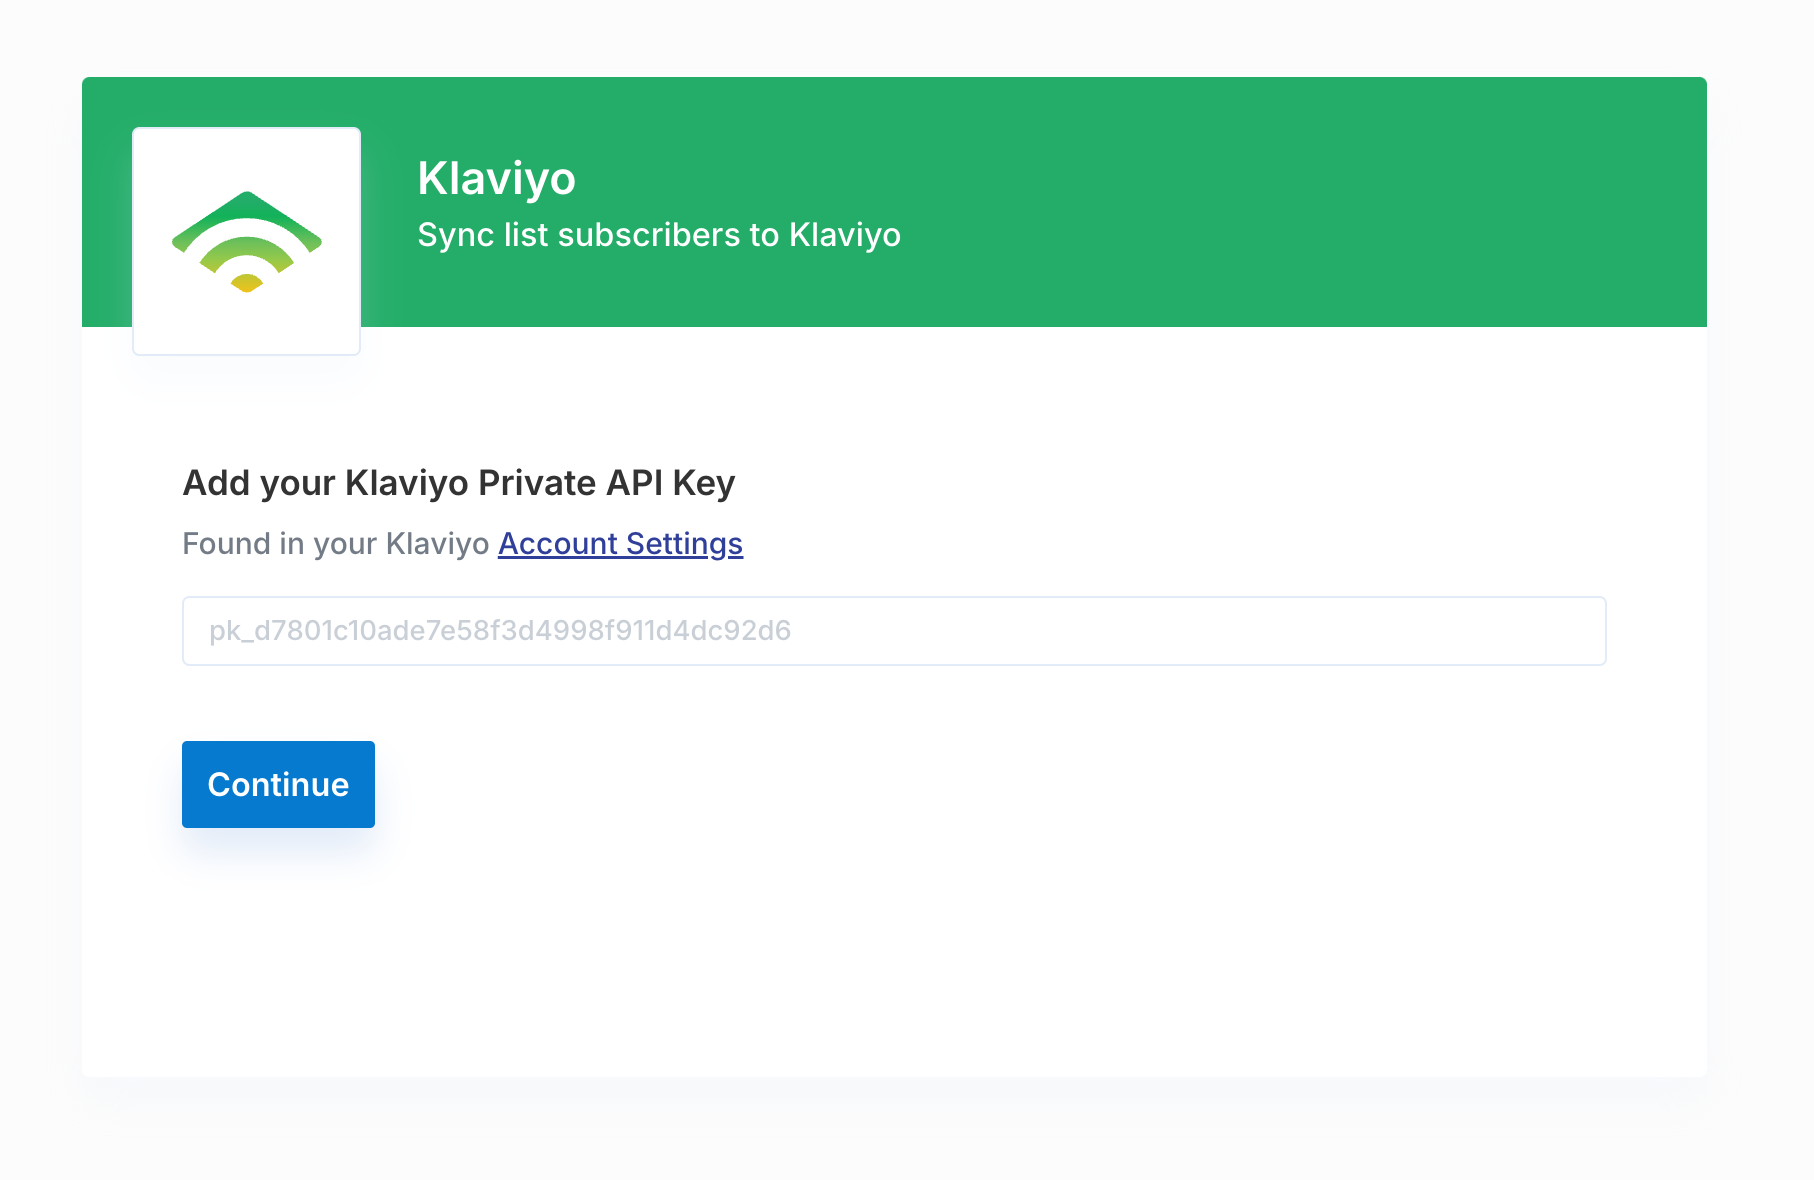
Authenticating an Account
Your users can connect their third-party app account in the Connect Portal by clicking “Connect”. Paragon natively supports all sorts of authentication types, like OAuth 2.0 and API Keys.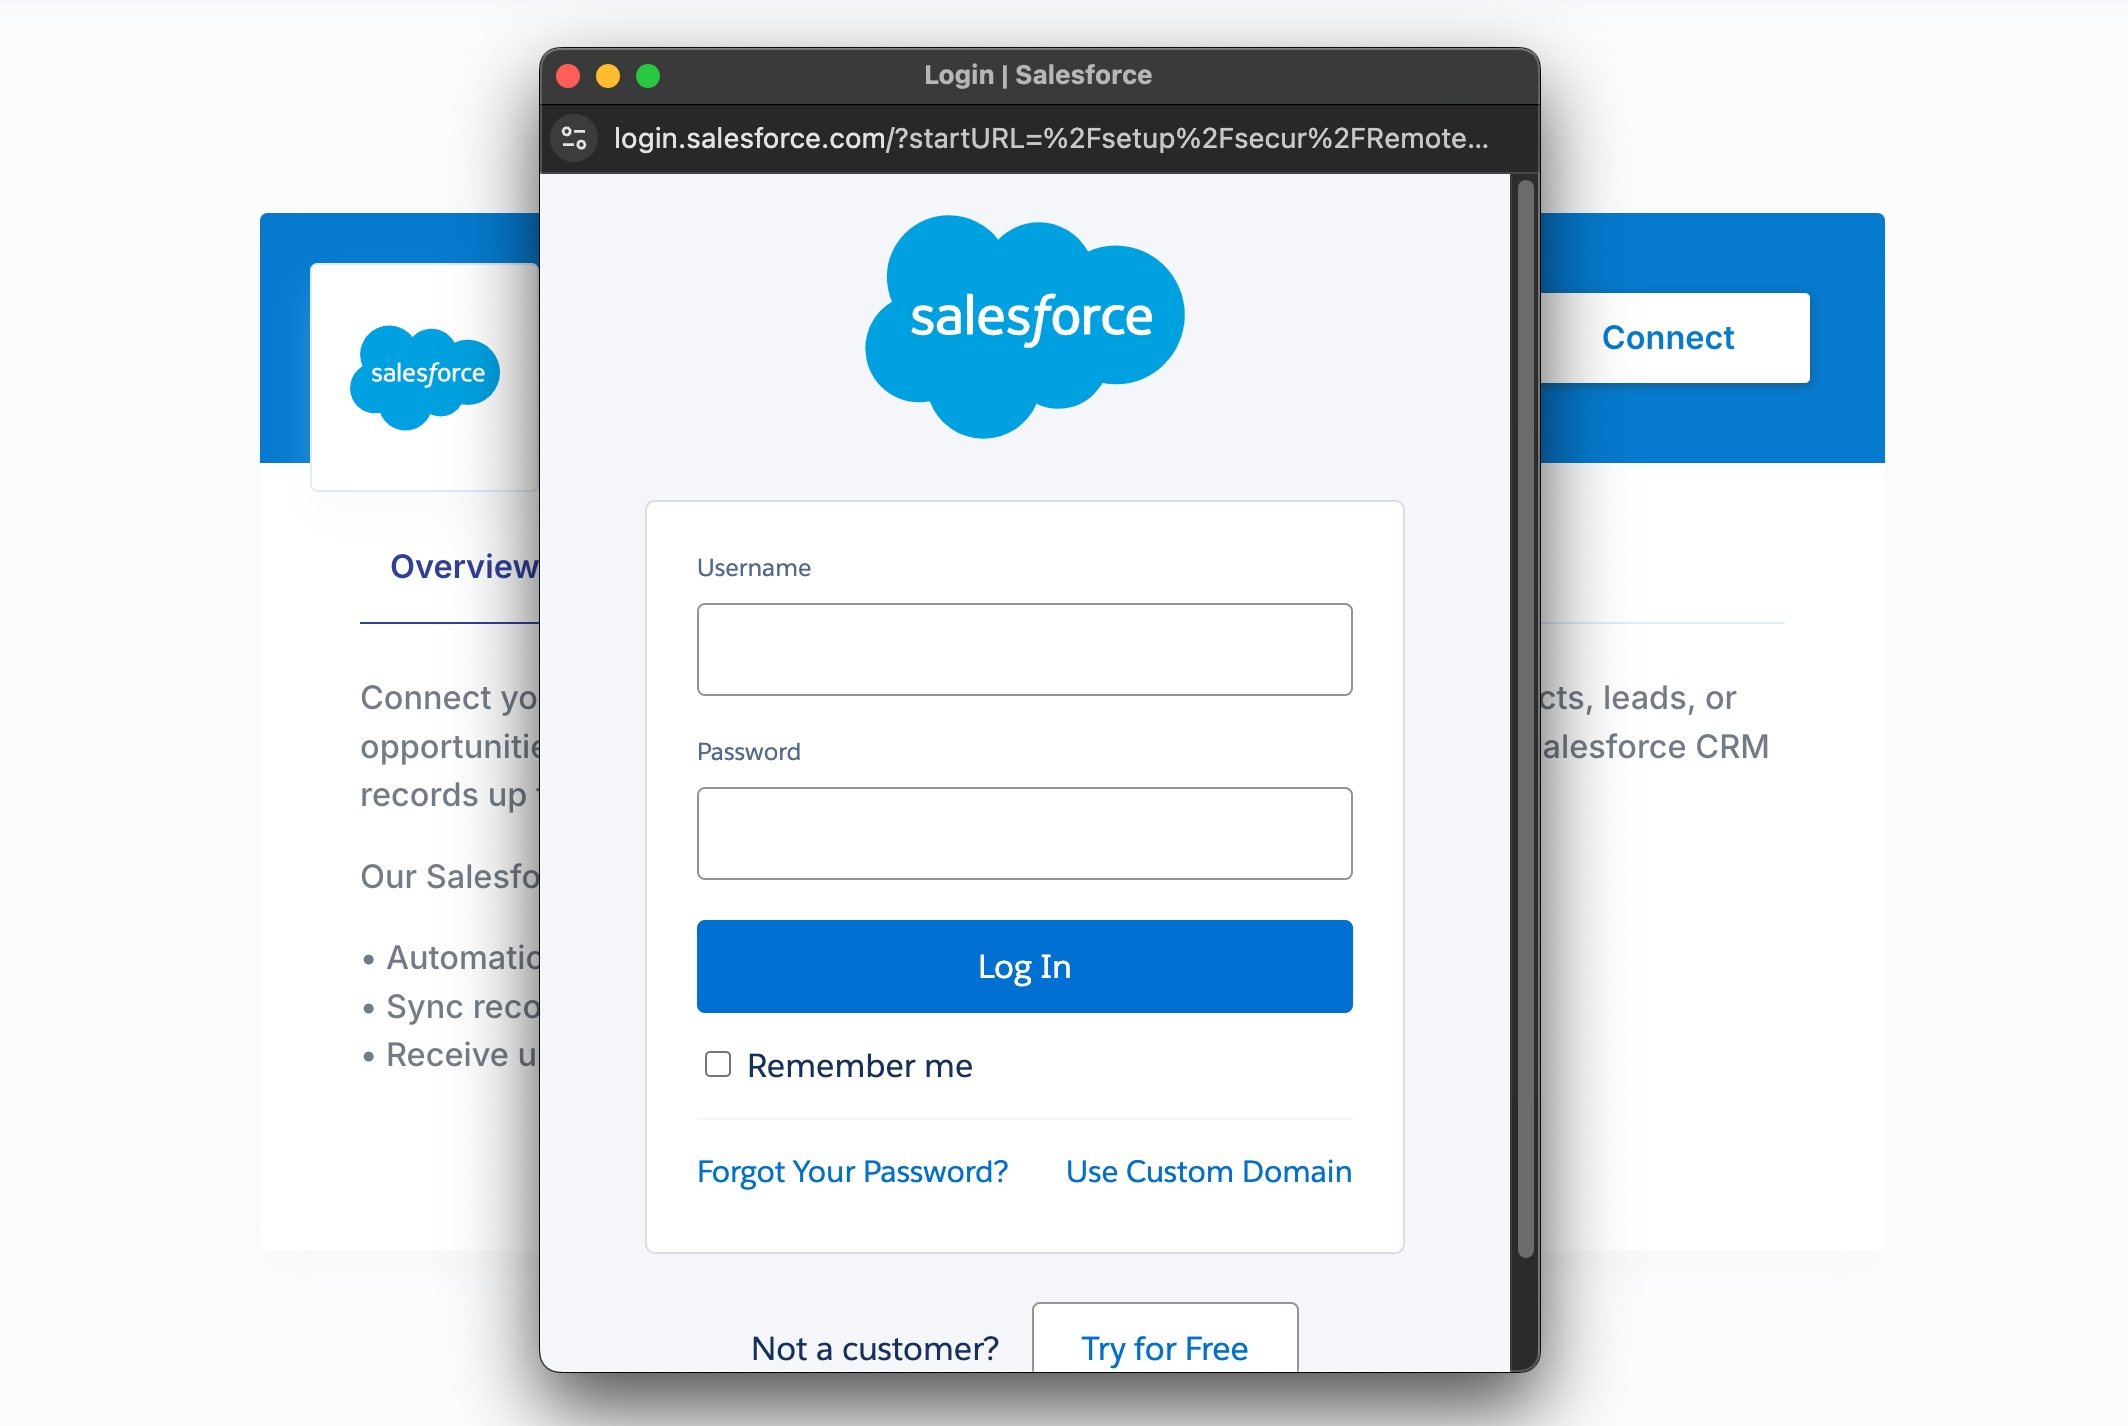
paragon.getUser to retrieve the currently authenticated user and their connected integration state.