Introduction
Once your users have connected their third-party app accounts in the Connect Portal, you can build workflows that connect data between your application and your users’ apps. Paragon’s visual workflow builder allows you to create custom integrations that your users can activate in their integrations. Workflows are durable, retriable jobs that can be triggered by your application or by events in your user’s connected accounts. Workflows can be used to build out logic for your integration in Paragon’s scalable, high-availability runtime.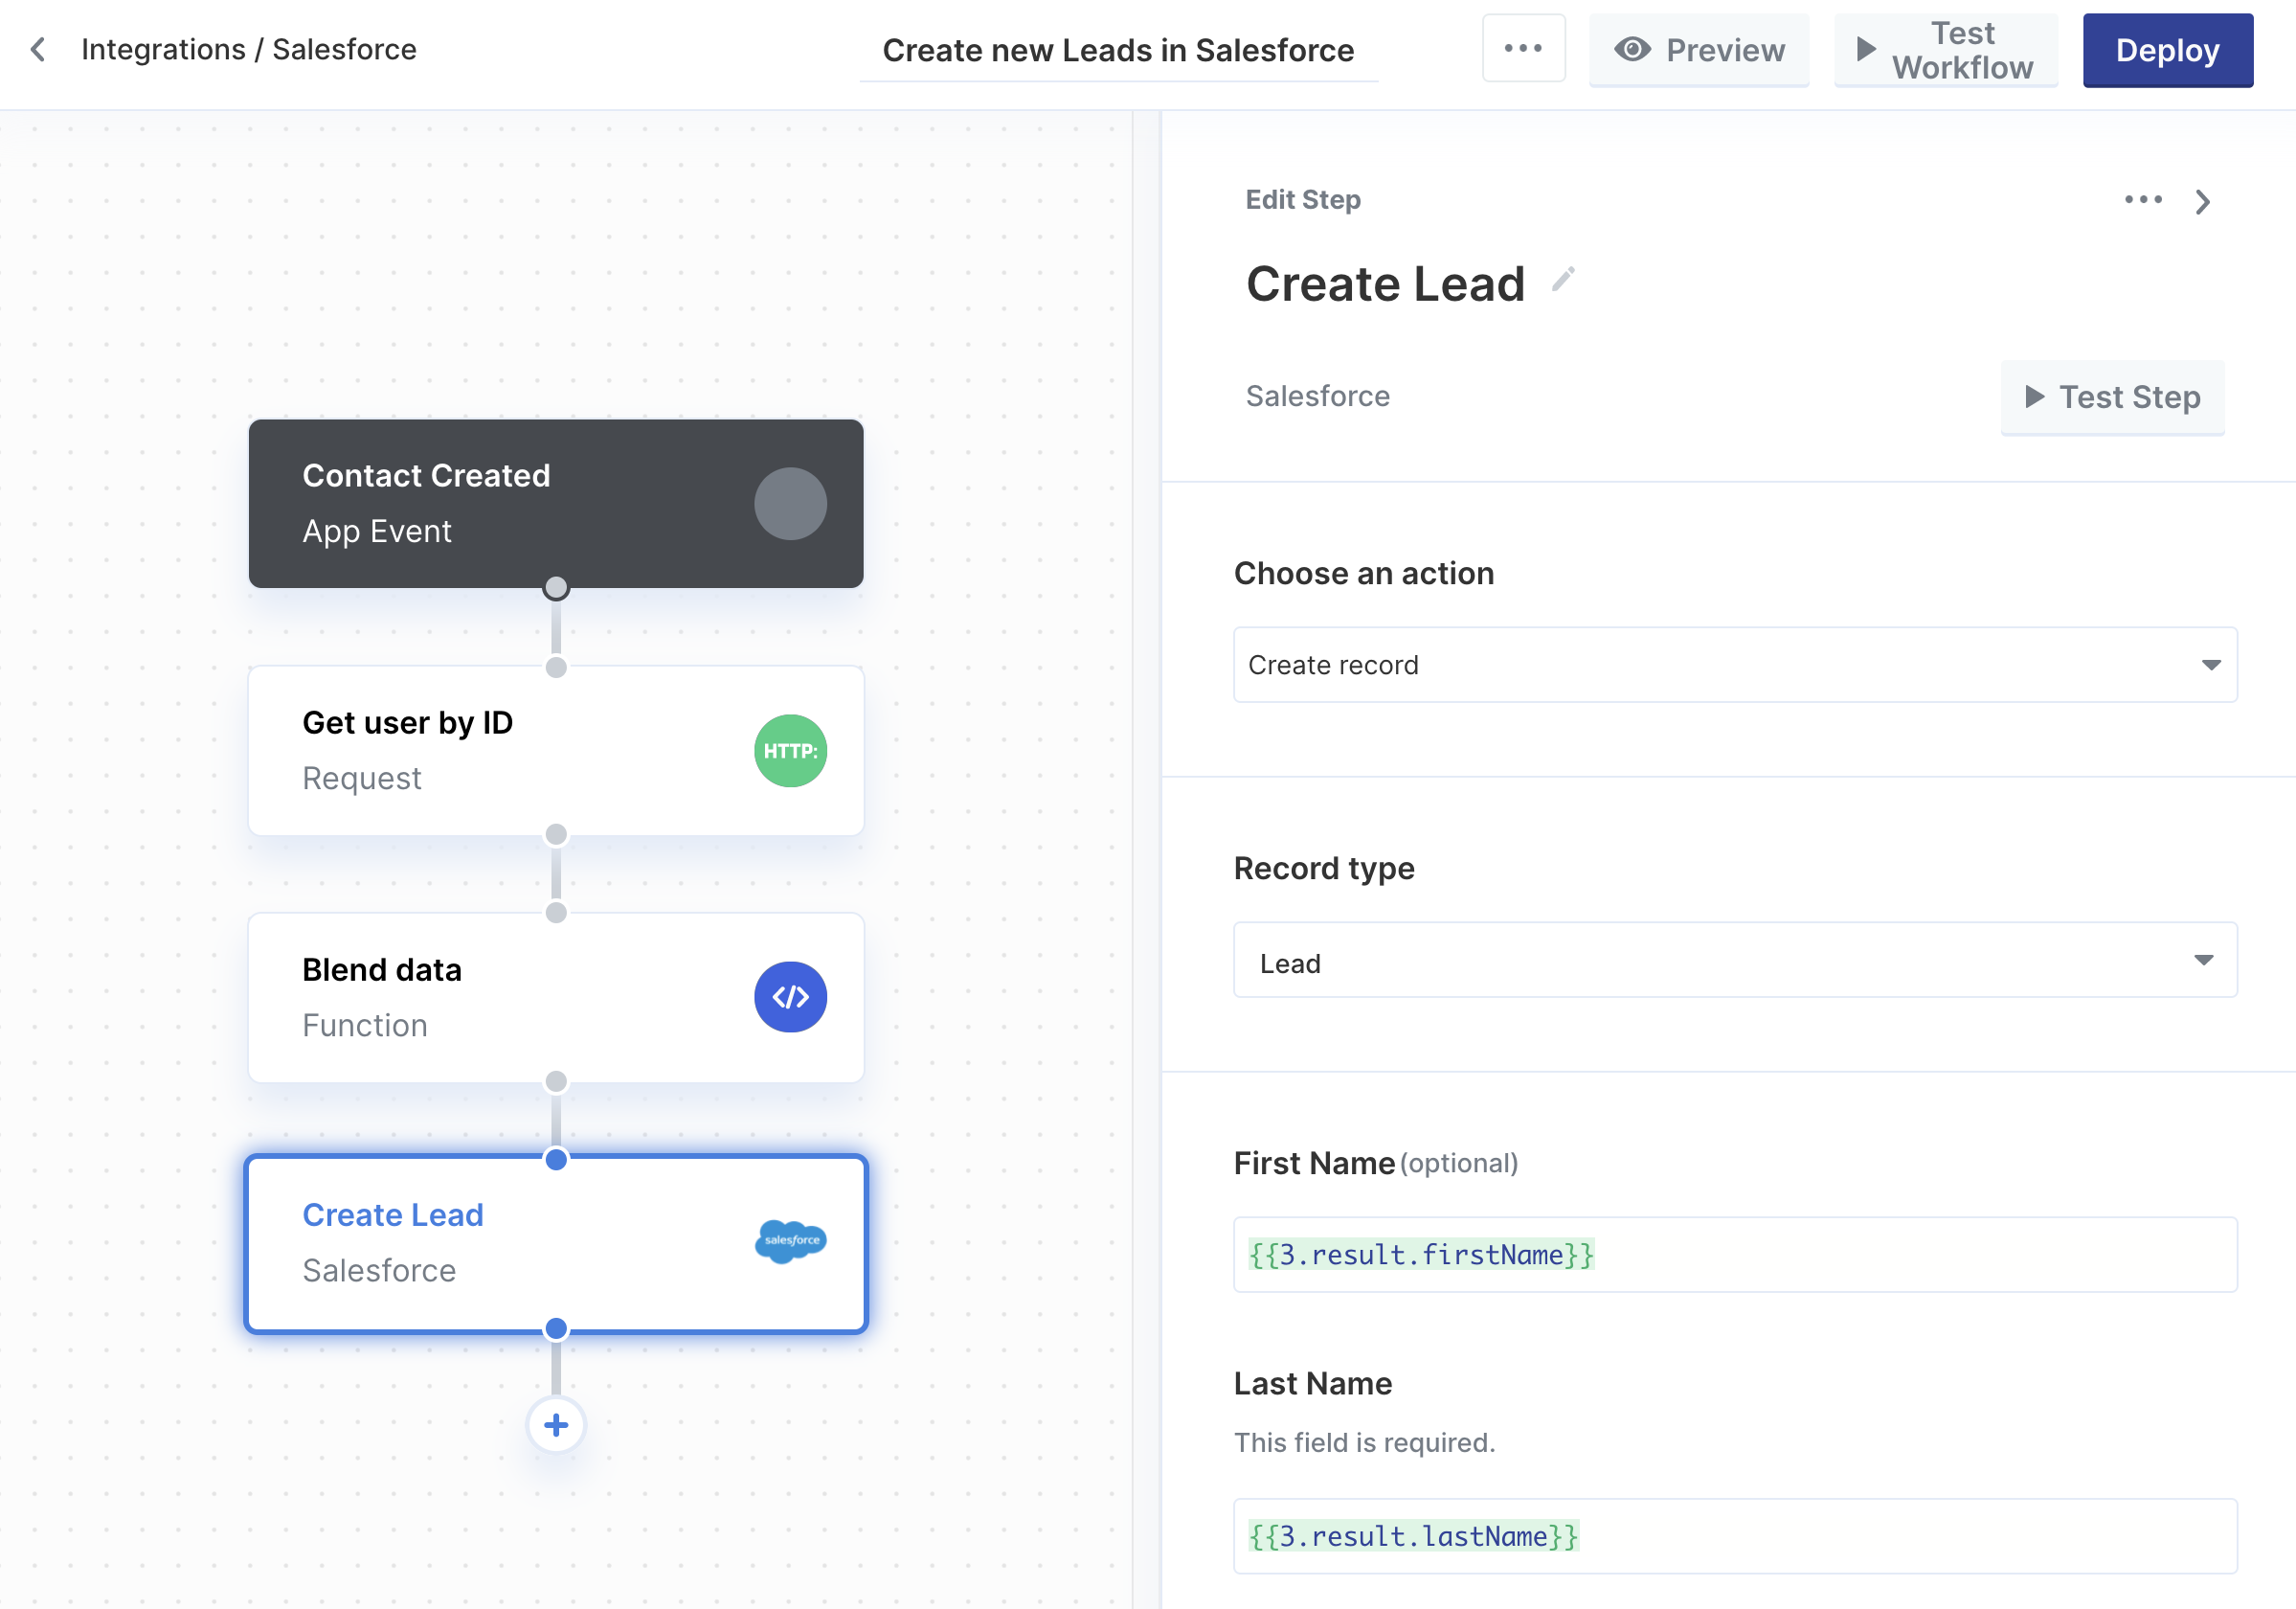
- Integration Actions: Perform an action in your users’ connected app account, like sending a Slack message or querying contacts from Salesforce
- Requests: Make a request to any API, such as sending data to your application
- Functions: Write custom JavaScript to transform data or perform custom business logic, using npm libraries as supported
- Conditionals: Add conditional branching logic
- Fan Out: Iterate in parallel over a list of data and reduce results in downstream steps
When to use Workflows
In general, Workflows are the way that most integrations are built with Paragon. When deciding when to use Workflows or the Proxy API, Workflows are often best suited for common use cases including:- Pushing data from your application to your users’ apps
- Receiving new or updated data from your users’ apps (Webhooks)
- Allowing your users to configure integration options with custom fields
- Enabling non-engineering teams (e.g. Product or Client Services teams) to configure integrations without writing code
- Slack: Send notifications from your application to Slack
- Salesforce: Sync contacts from your application to Salesforce
- HubSpot: Sync contacts HubSpot to your application
- Google Calendar: Create Google Calendar events from events in your application
Creating Workflows
You can create a Workflow by selecting an integration and clicking Create Workflow.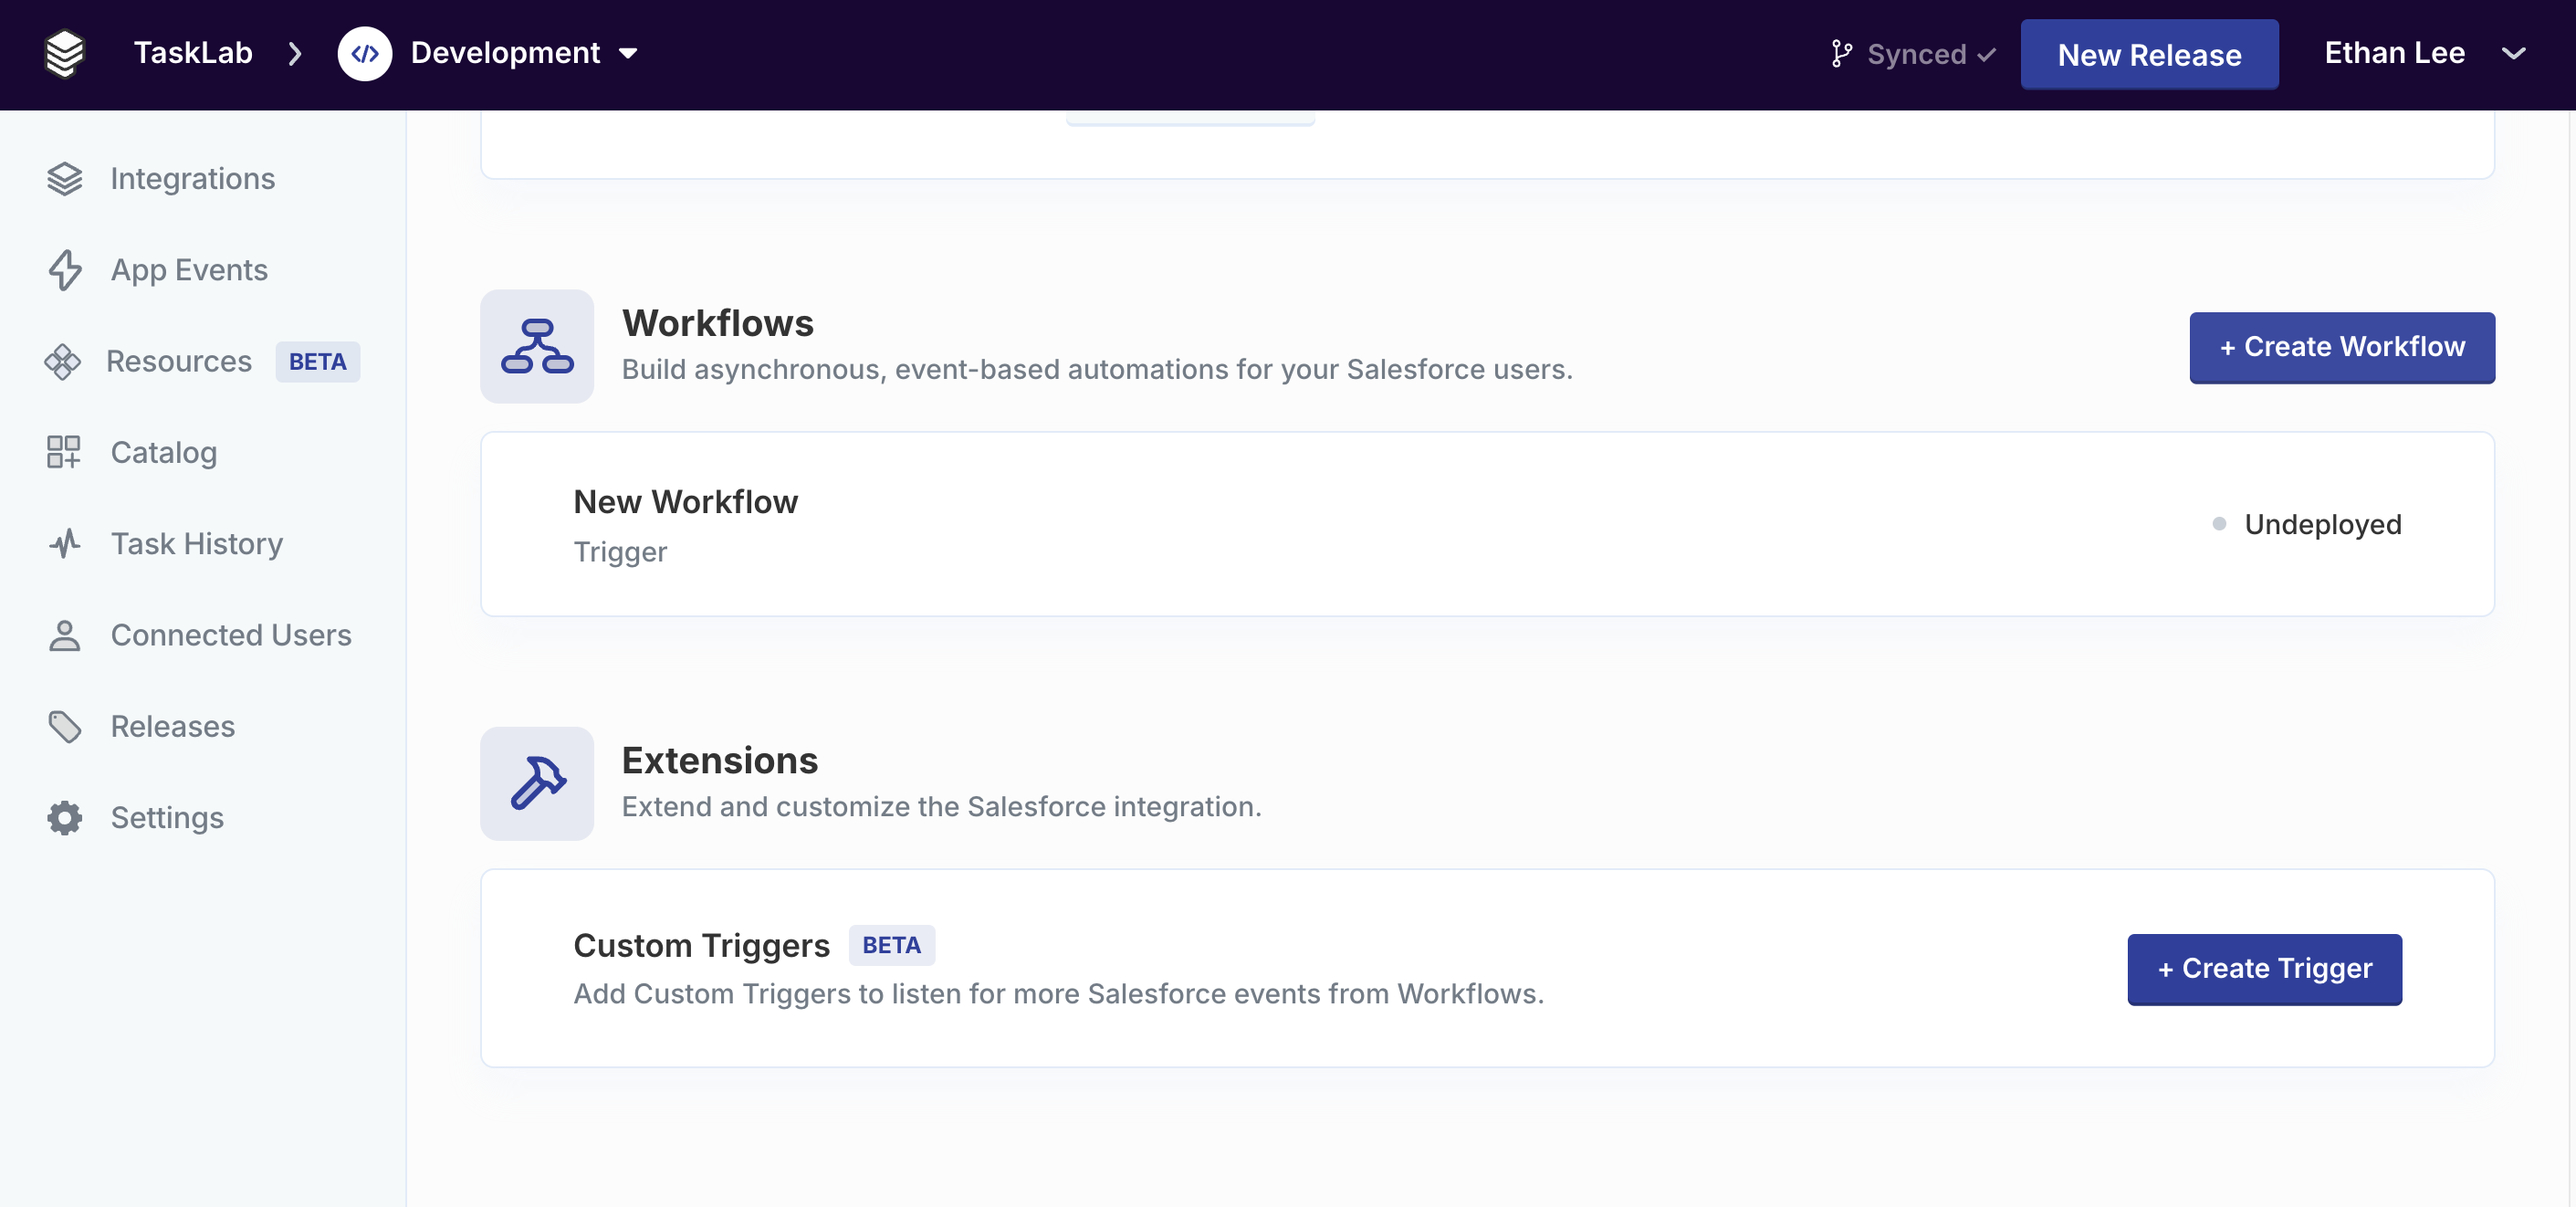
.png?fit=max&auto=format&n=867oBBVpxd2C3zc4&q=85&s=c56b0fee5f715b107c59b3bf5c1ac5fb)
Triggering Workflows
Using Dynamic Data
You can insert data from any upstream step in the Workflow Editor with the Dynamic Variable Menu. To access the Dynamic Variable Menu, click into any text input box, type two left curly braces{{, then select the desired step and specific reference to pull data from.
Testing Workflows
Individual steps in a workflow can be tested as you build them. Each step has a Test Step button in the sidebar that executes the step as the Preview User (the user connected in the Preview page of your integration). You can use the Test Workflow button when you want to test a workflow with all steps to completion.Note: When testing steps or workflows from the Workflow Editor, the data output returned is partial.Here are some limitations to the test data displayed in the Workflow Editor:
- Arrays are truncated to 20 items maximum
- Paginated requests will only send 3 requests maximum
Deploying Workflows
You can push workflows live to your customers by pressing the purple Deploy button in the top-right corner of the Workflow Editor..png?fit=max&auto=format&n=EuLlf5VxgsSnEq57&q=85&s=0068e700a1a7c00415be8e47e41c7efc)
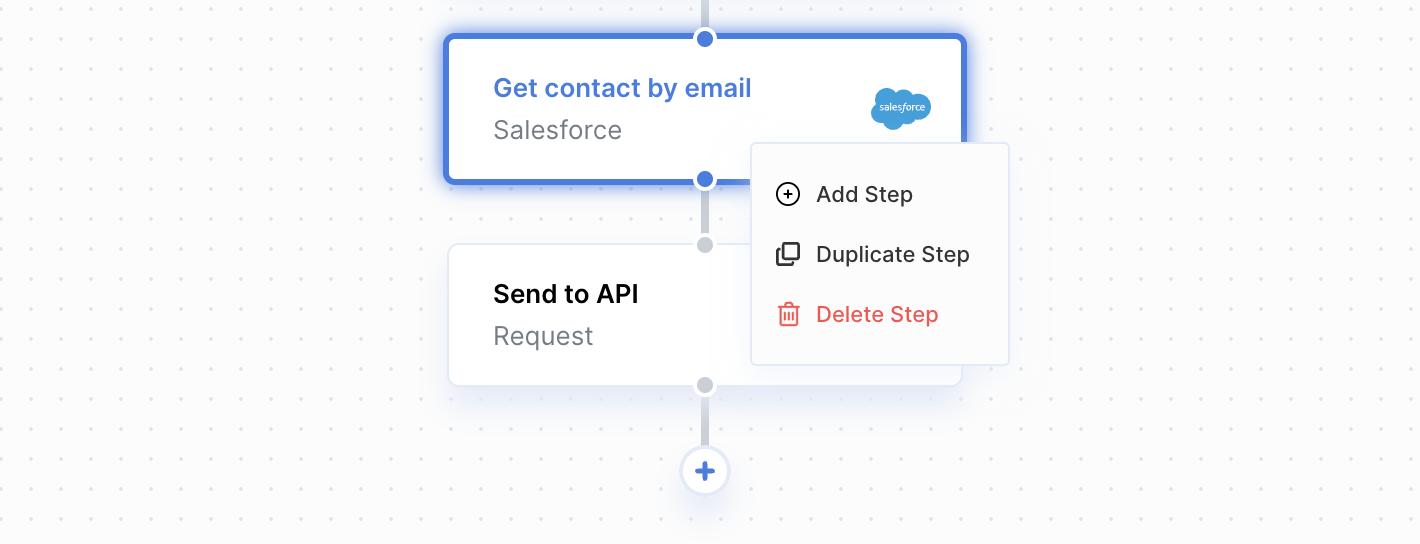
Editing Workflows
You can edit deployed workflows by making changes directly to the Workflow Editor. The changes will not affect the live workflow changes until you redeploy the workflow.Undeploying Workflows
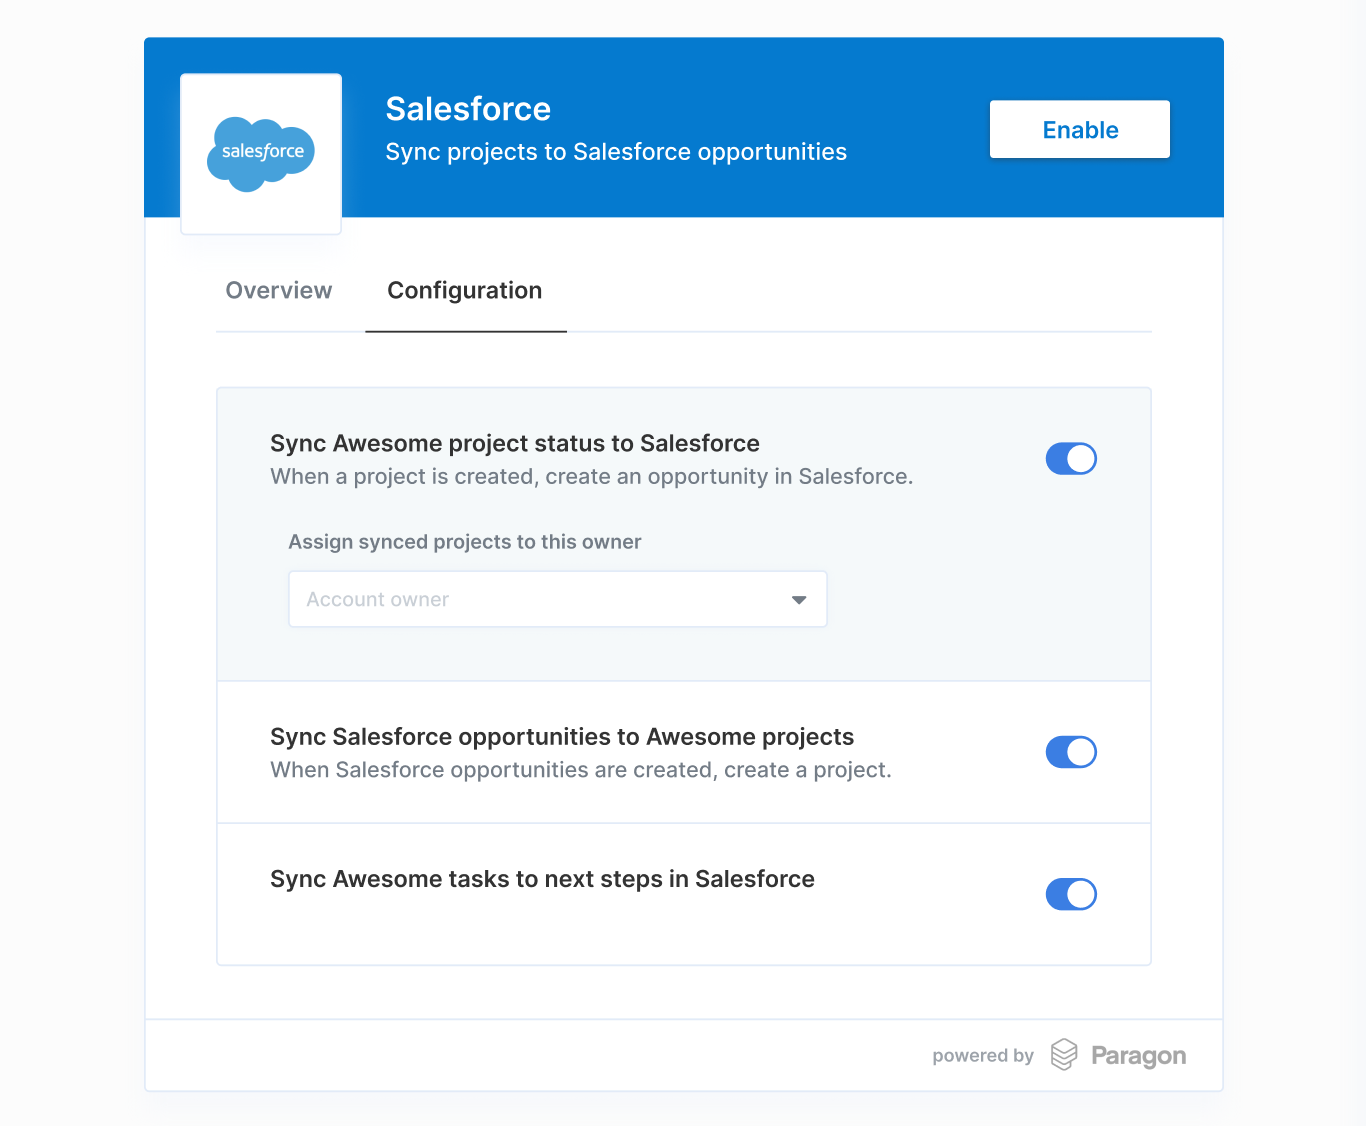
To pull deployed workflows from your customers, click the purple “Deploy” button in the top-right corner of the Workflow Editor, then select “Undeploy”.Workflows and the Connect Portal
Workflows that you’ve deployed for an integration will appear in that integration’s Connect Portal under the Configuration tab. There, your users can choose which workflows they want to activate for that integration. You can also provide options for your users to configure their workflow settings. For example, if you have a Slack workflow that sends notifications to your users’ workspaces, you may want to provide them the option of which Slack channel they want to send notifications to.