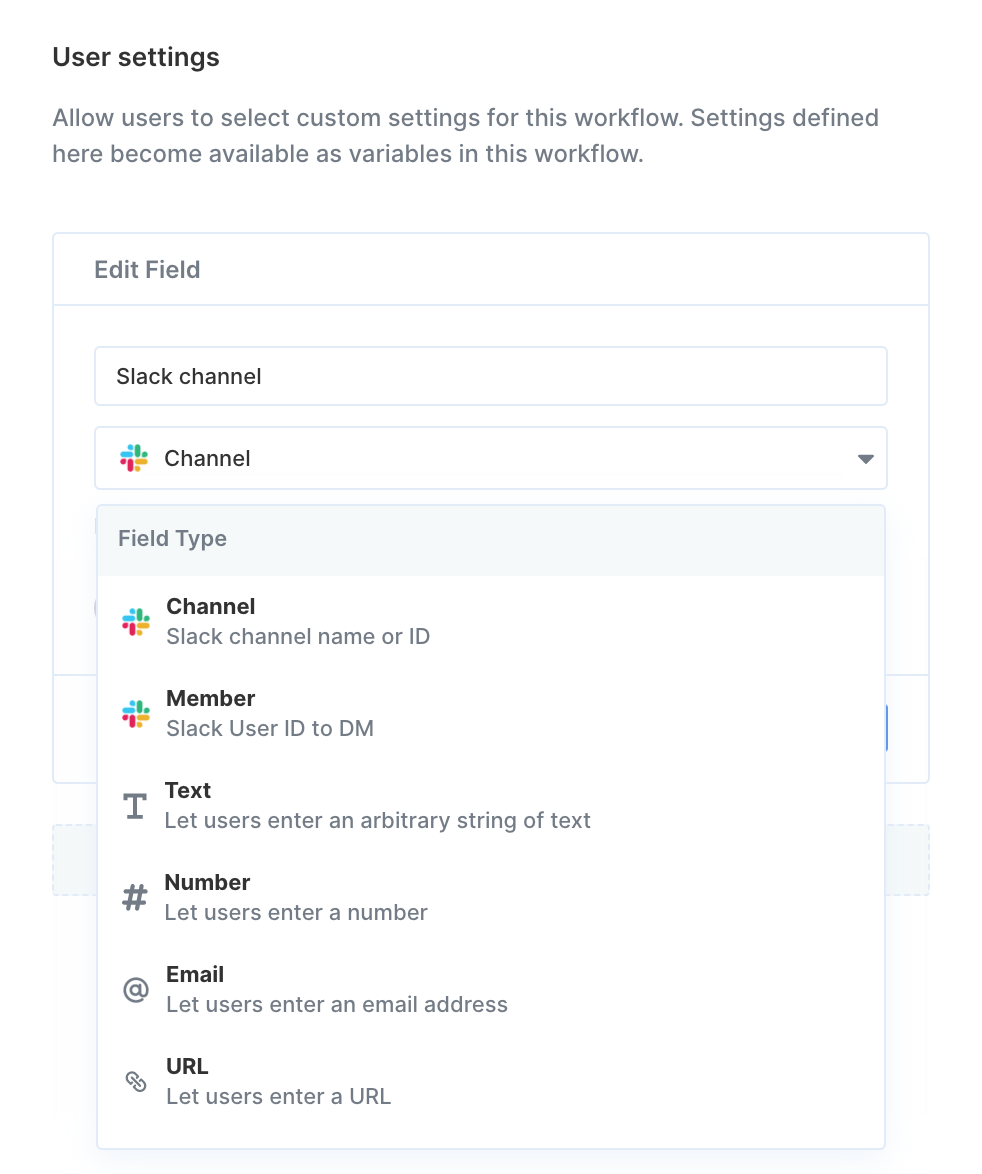
- Slack - choosing which channel that messages should be sent in
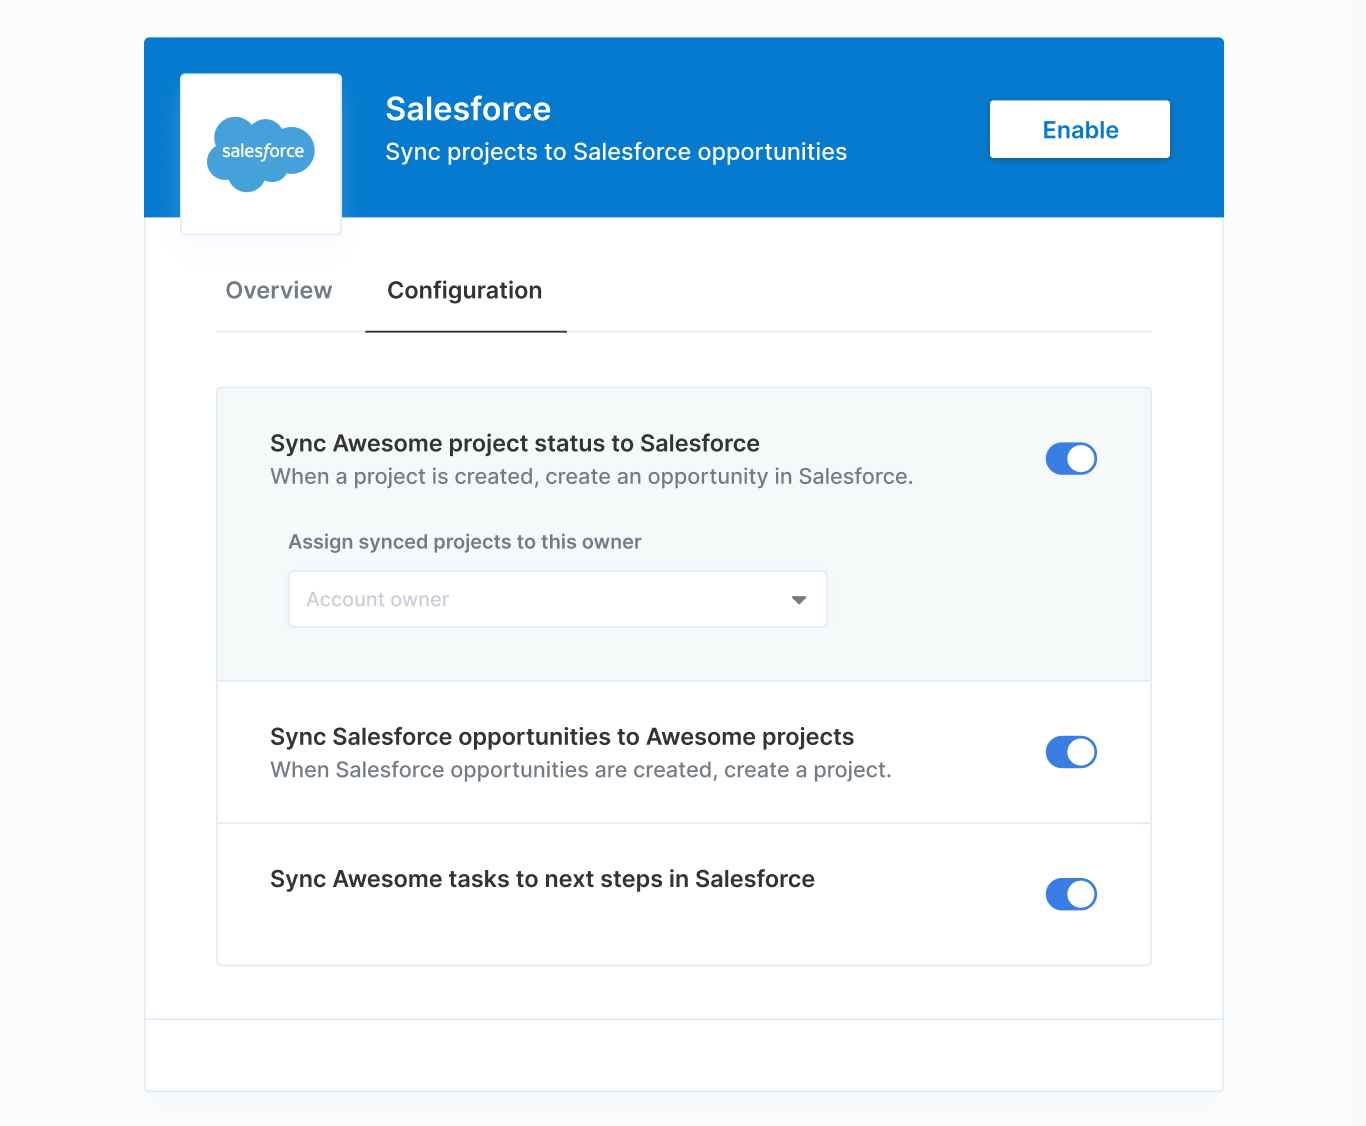
- Salesforce - choosing a custom opportunity stage that new opportunities created in
- Hubspot - choosing a custom lead status that new leads should be created with
- Jira - choosing which Jira user that new issues should be assigned to
- If they are included at the integration level, the User Settings can be referenced from any workflow for that integration.
- If they are included at the workflow level, the User Settings will appear when that workflow is enabled by your user and can only be referenced from the workflow it belongs to.

Adding User Settings
To add User Settings at the integration level:- Click Customize Connect Portal in any integration’s Overview page to open the Connect Portal Editor.
- Click the Configuration tab in the sidebar.
- Under Settings in the sidebar, click + Add Setting.
- Enter options for Name, Field Type, Tooltip, and whether or not the field should be required for your user to enable the integration.
- Click Customize Connect Portal in any integration’s Overview page to open the Connect Portal Editor.
- Click the Configuration tab in the sidebar.
- Click on the workflow you’d like to add User Settings to.
- Under User Settings in the sidebar, click + Add Setting.
- Enter options for Name, Field Type, Tooltip, and whether or not the field should be required for your user to enable the integration.

Referencing User Settings in the Workflow Editor
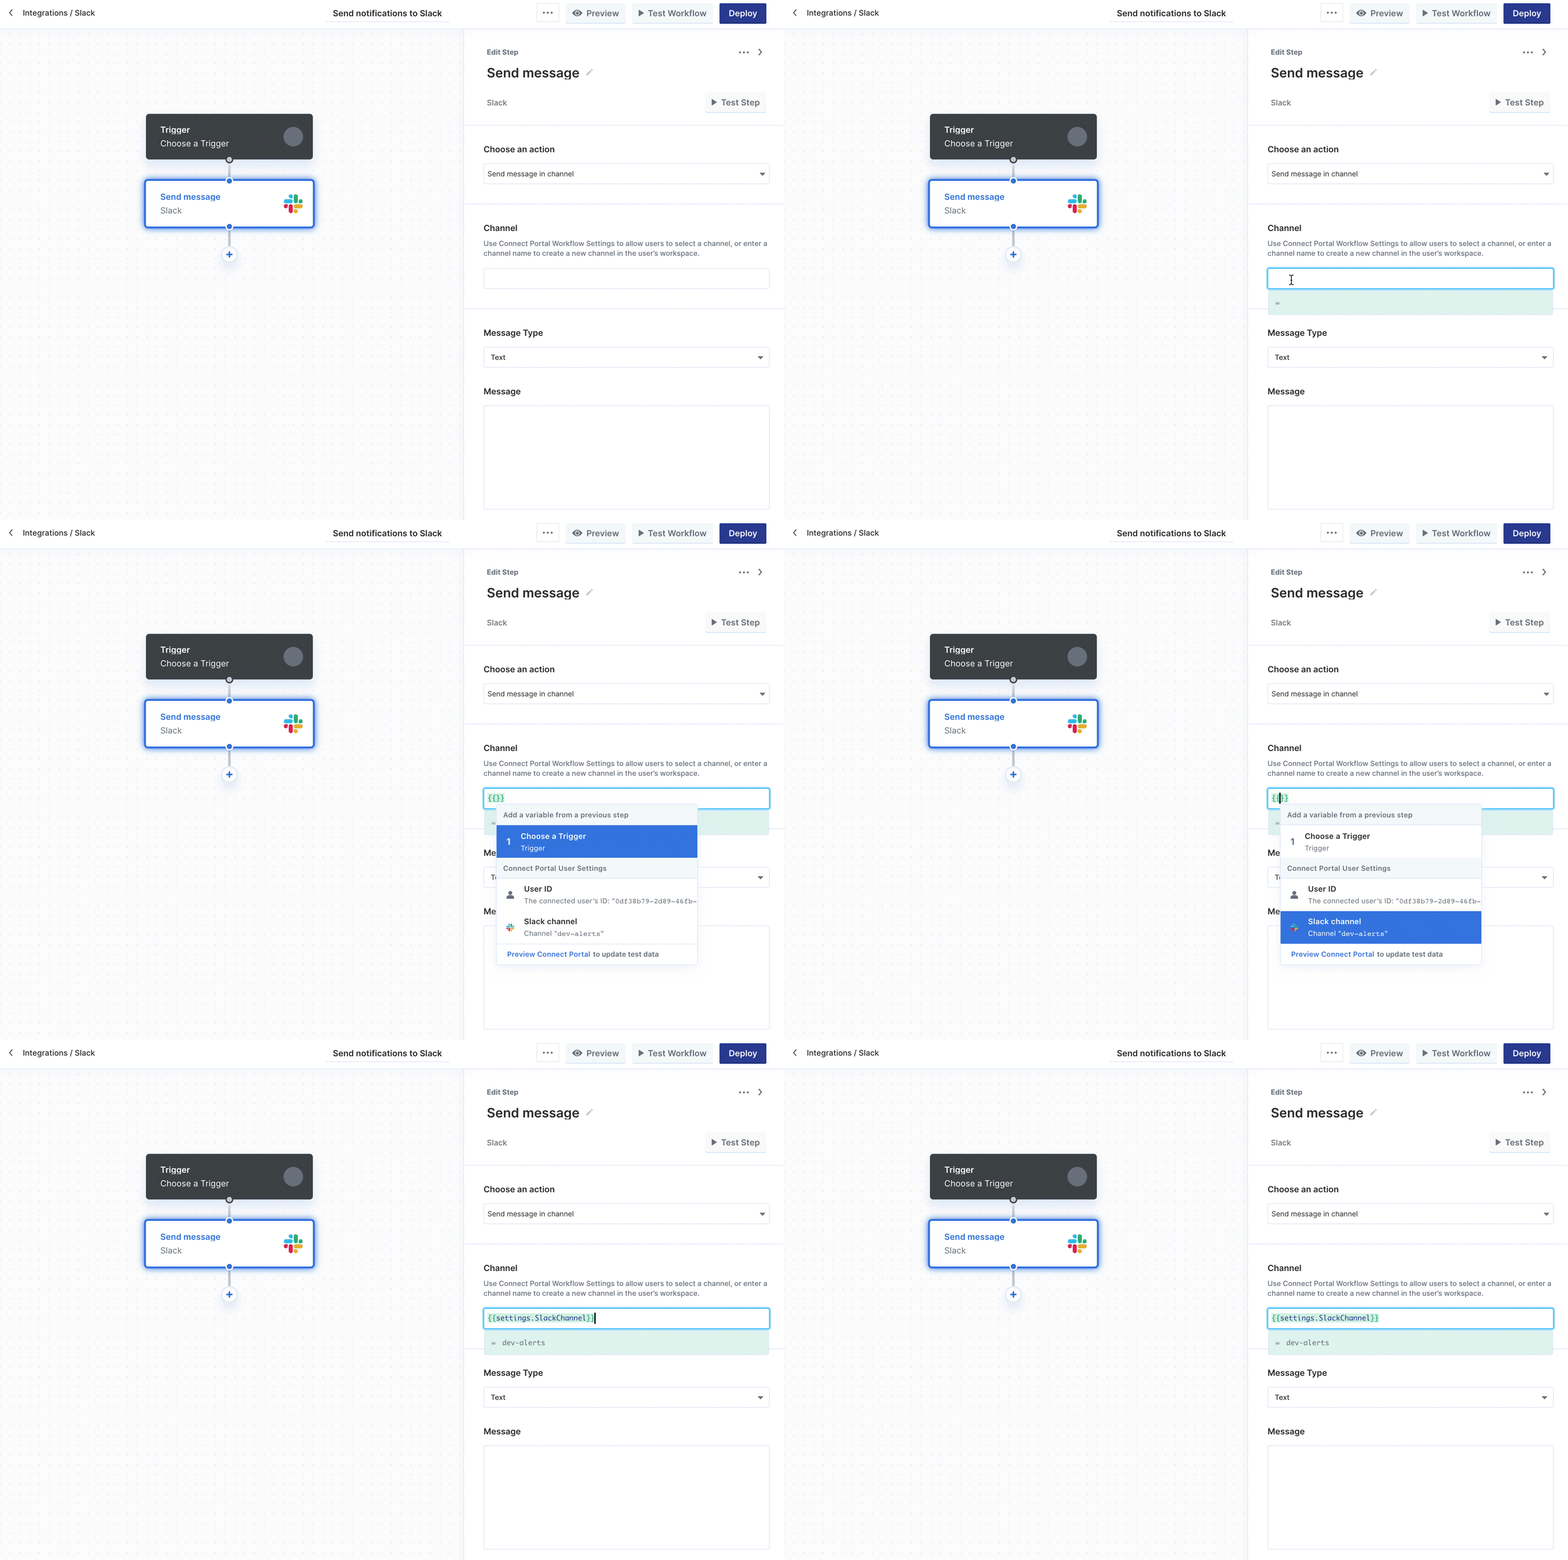
Actions in Paragon will indicate when they accept User Settings as an input parameter. In these cases, you should first add the respective User Settings in the Connect Portal Editor, then use the variable menu to reference that User Setting in the Action sidebar.Enter two left curly braces
{{ to open the dynamic variable menu.
Testing User Settings
To test your Workflow User Settings, open the click the Preview button in the top-right of the navigation bar. This launches a live preview where you can test the end-user experience of your Connect Portal..png?fit=max&auto=format&n=7RZyQGncIlY8Xl4A&q=85&s=33289b775360a3427dde4bce081e000e)