.png?fit=max&auto=format&n=VPMcg_H0p5RWAFJc&q=85&s=5cfe88dd717581dd1bcb18c987b657b1)
How Syncing Works
Git Sync works by automating CLI commands with GitHub Actions, in response to change events in Paragon or in your Git repository. You can opt into a bidirectional sync or a one-way sync, depending on what works best for your team:- Bidirectional Sync: Both engineering and non-engineering team members will be working on integrations development, editing in both code and the workflow editor.
- One-Way Sync from Git -> Paragon: Paragraph code will be the source of truth, and updates to integrations will strictly be made in code. Works best when only engineering team members will be working on integrations development, or where advanced patterns like higher-order steps or modular workflow fragments are required.
- One-Way Sync from Paragon -> Git: Paragon dashboard will be the source of truth, and updates will sync back to Git as a more fine-grained form of version control.
Setup
Repository Setup
First, we’ll need to set up a GitHub repository to sync your integrations with.- If you don’t already have one, create a new GitHub repository. This repository can be public or private.
- Push the contents of your initialized Paragraph project to your repository: Exporting from Paragon.
-
Add and commit new files called
.github/workflows/paragraph-push.ymland.github/workflows/paragraph_pull_runner.ymlat the root of your repository with the contents of the GitHub Actions Workflow Files below. - Navigate to your GitHub repository and select Settings. Navigate to Secrets and Variables > Actions.
-
Create a repository secret for
PARAGON_CLI_KEY. You can find this value on your machine in the file~/.paragon/credentials.json. It will be the value withintokenin this file.
GitHub Actions Workflow Files
GitHub Actions Workflow Files
Any commits that you write to your Git repository will trigger a CI workflow that builds and pushes the contents back to the Paragon dashboard.Any changes that you make from the dashboard will trigger a CI workflow. This workflow will re-export the contents of your Paragon project into Paragraph, committing the resulting diff.
Token Setup
Next, you’ll need to generate a GitHub Personal Access Token (PAT) to use in the Paragon dashboard.- In GitHub Developer Settings, click the Fine-grained Tokens section in the Personal Access Tokens sidebar.
- Generate a new token. Specify a descriptive name like “Paragon Git Sync” and desired expiration.
- Select the repository owner/organization as the Resource Owner of the token. If your organization is not appearing in the list of available Resource Owners, you may need to ask your GitHub organization admin to allow PATs in your organization (see GitHub docs).
- Select your intended integrations repository in Repository Access.
- Select the following Permissions: Actions: Read and write Contents: Read only Metadata: Read only Members: Read only The Overview of the Permissions should look like:
.png?fit=max&auto=format&n=VPMcg_H0p5RWAFJc&q=85&s=29f26f78f9d98fac61bc07e63c649c0f)
- Generate the token.
- In the Paragon dashboard, click “Sync Git Branch” in the top navigation bar.
- Paste your PAT and press Connect.
- Select a repository to sync Paragon with.
- Select which branch of your Git repository your Paragon project should sync with. Each Paragon project can be associated with a different branch in your Git repository.
Setup Instructions for Classic Personal Access Tokens
Setup Instructions for Classic Personal Access Tokens
Generate a classic Personal Access Token with the following scopes:
repoworkflowread:orgadmin:repo_hookread:user
Syncing Changes
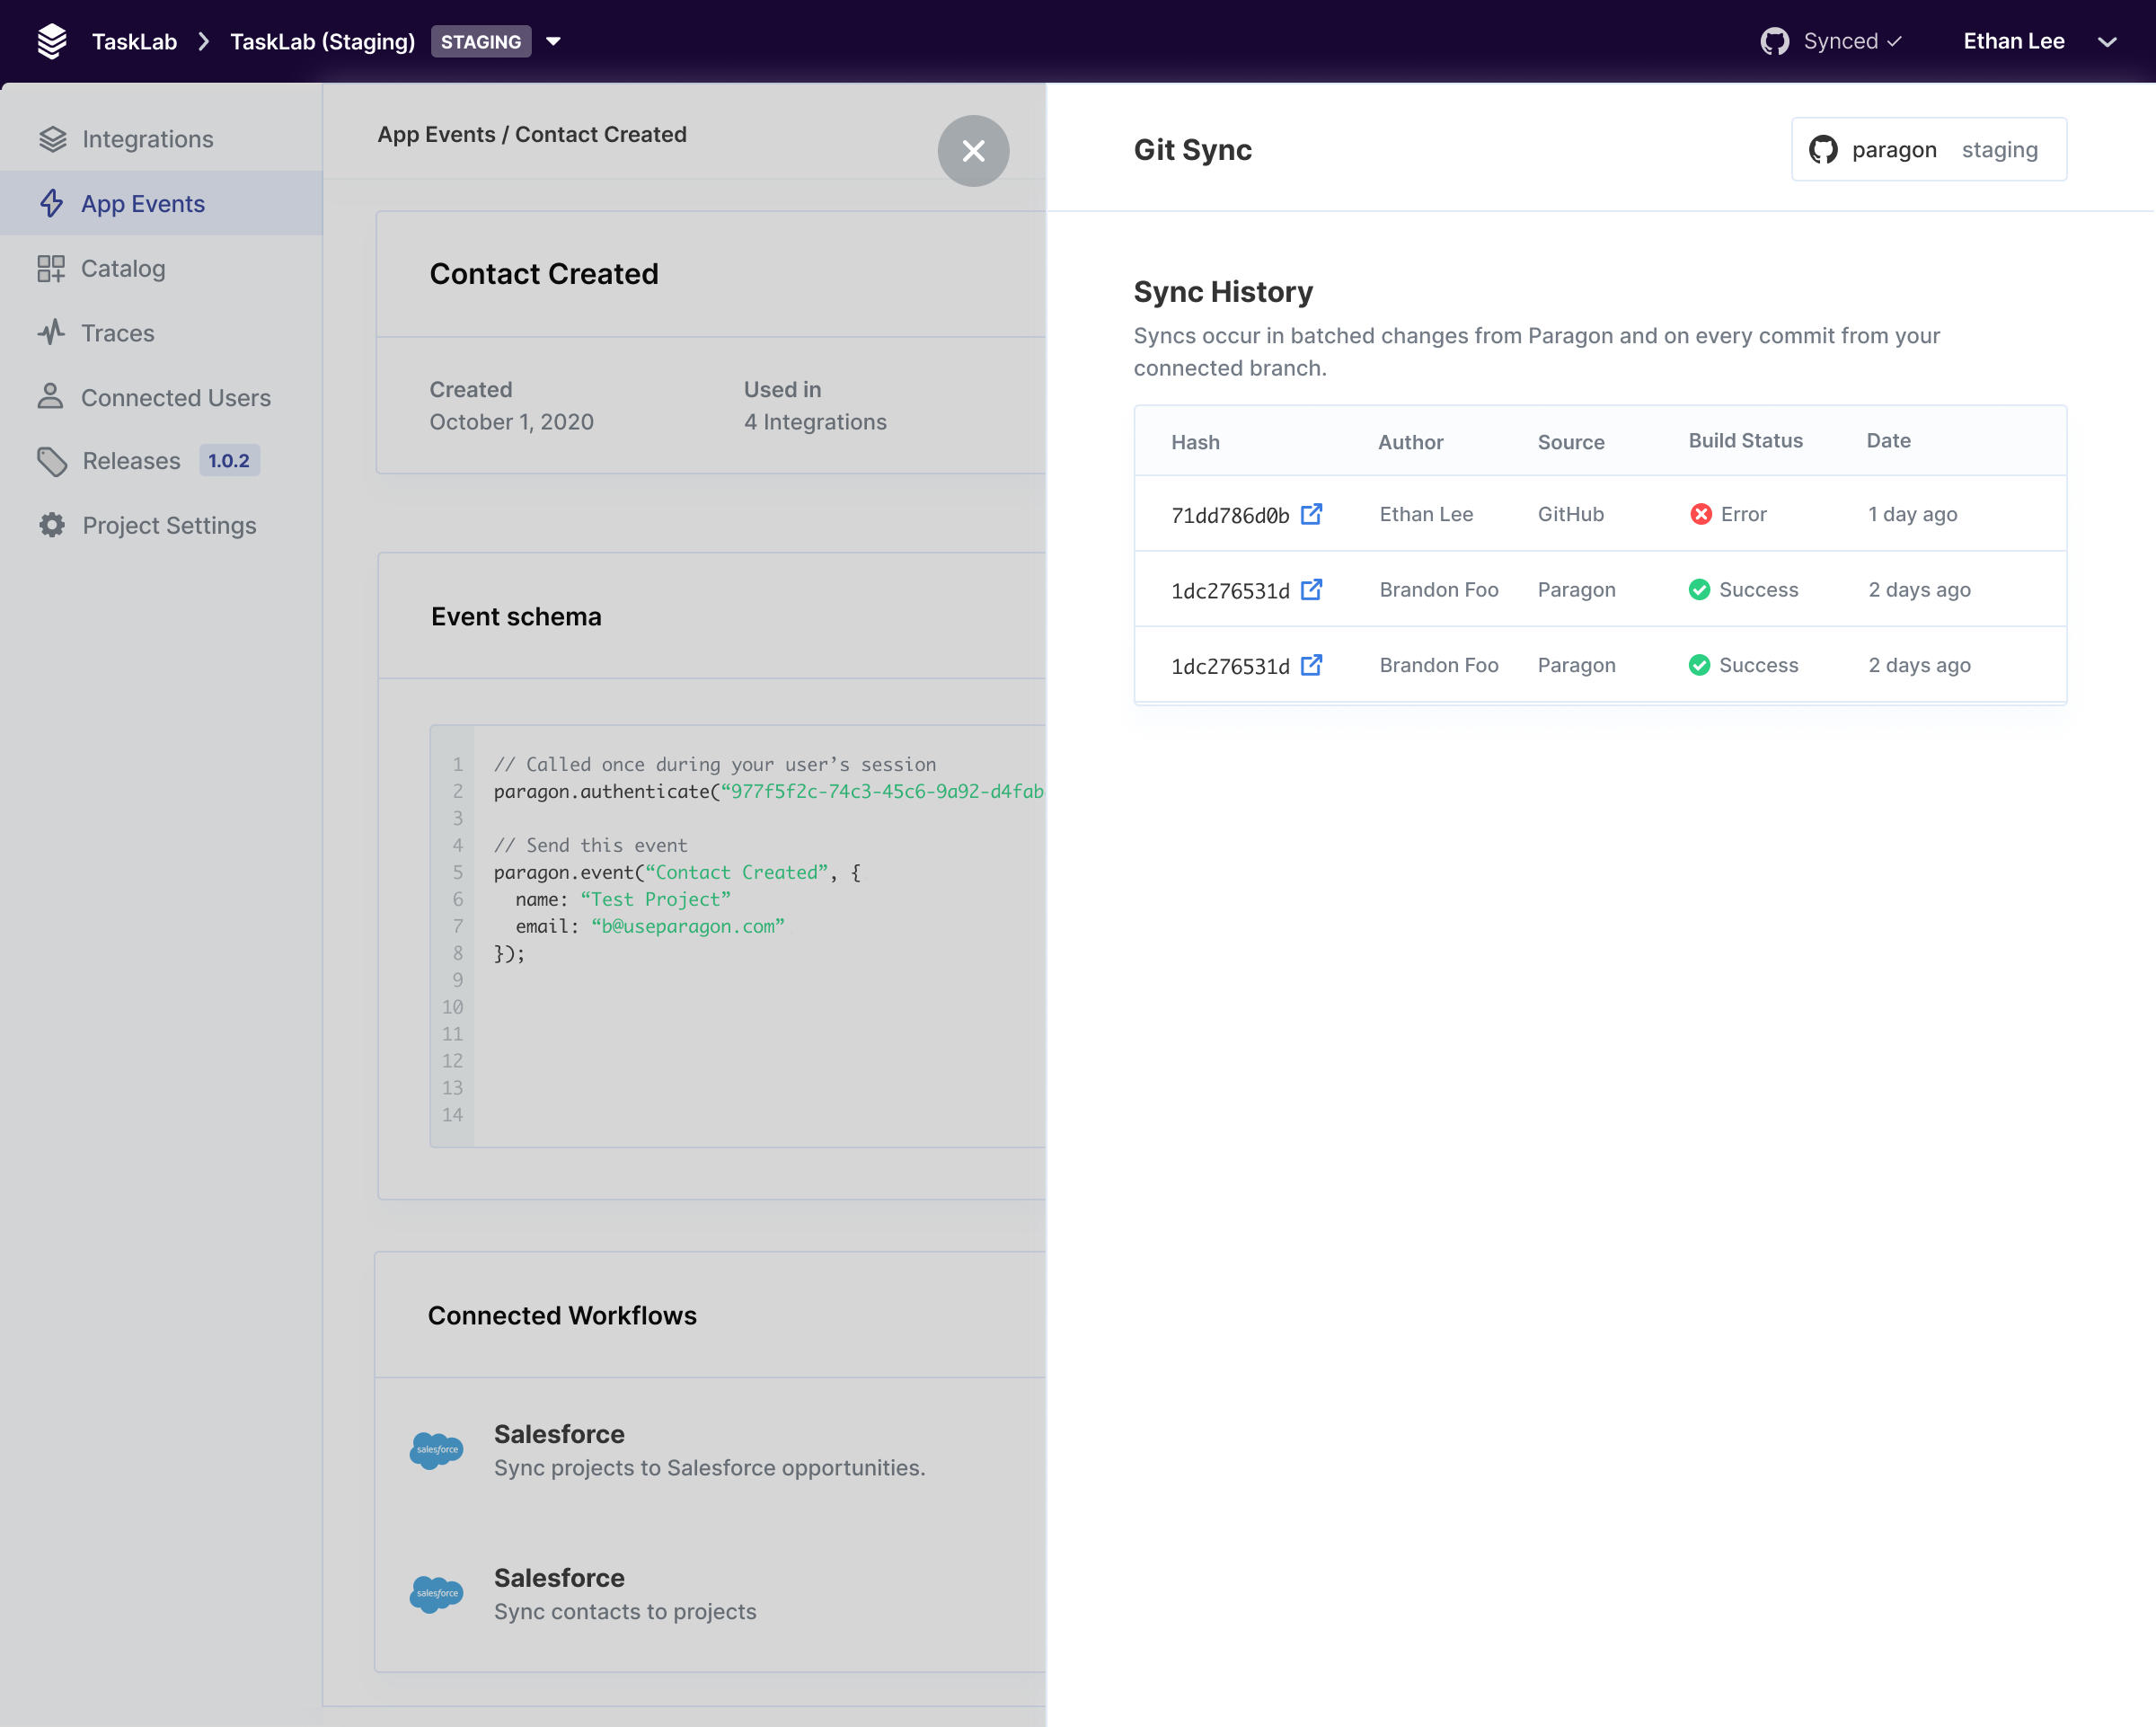
As you make changes to your integrations in the Paragon dashboard, your changes will be synced as commits to your connected Git repository. Workflow changes can be synced immediately by clicking Options > Save Version in the Workflow Editor. You can view the sync history for your Paragon project by clicking the Sync Status icon in the navigation bar of the Paragon dashboard.