> ## Documentation Index
> Fetch the complete documentation index at: https://docs.useparagon.com/llms.txt
> Use this file to discover all available pages before exploring further.
# Hosted Demo Environment
> Start testing your Paragon integrations without embedding our SDK
## Overview
Paragon’s [Demo Environment](https://demo.useparagon.com/demo) is designed to serve as an example implementation of a website with the Paragon SDK embedded in it.
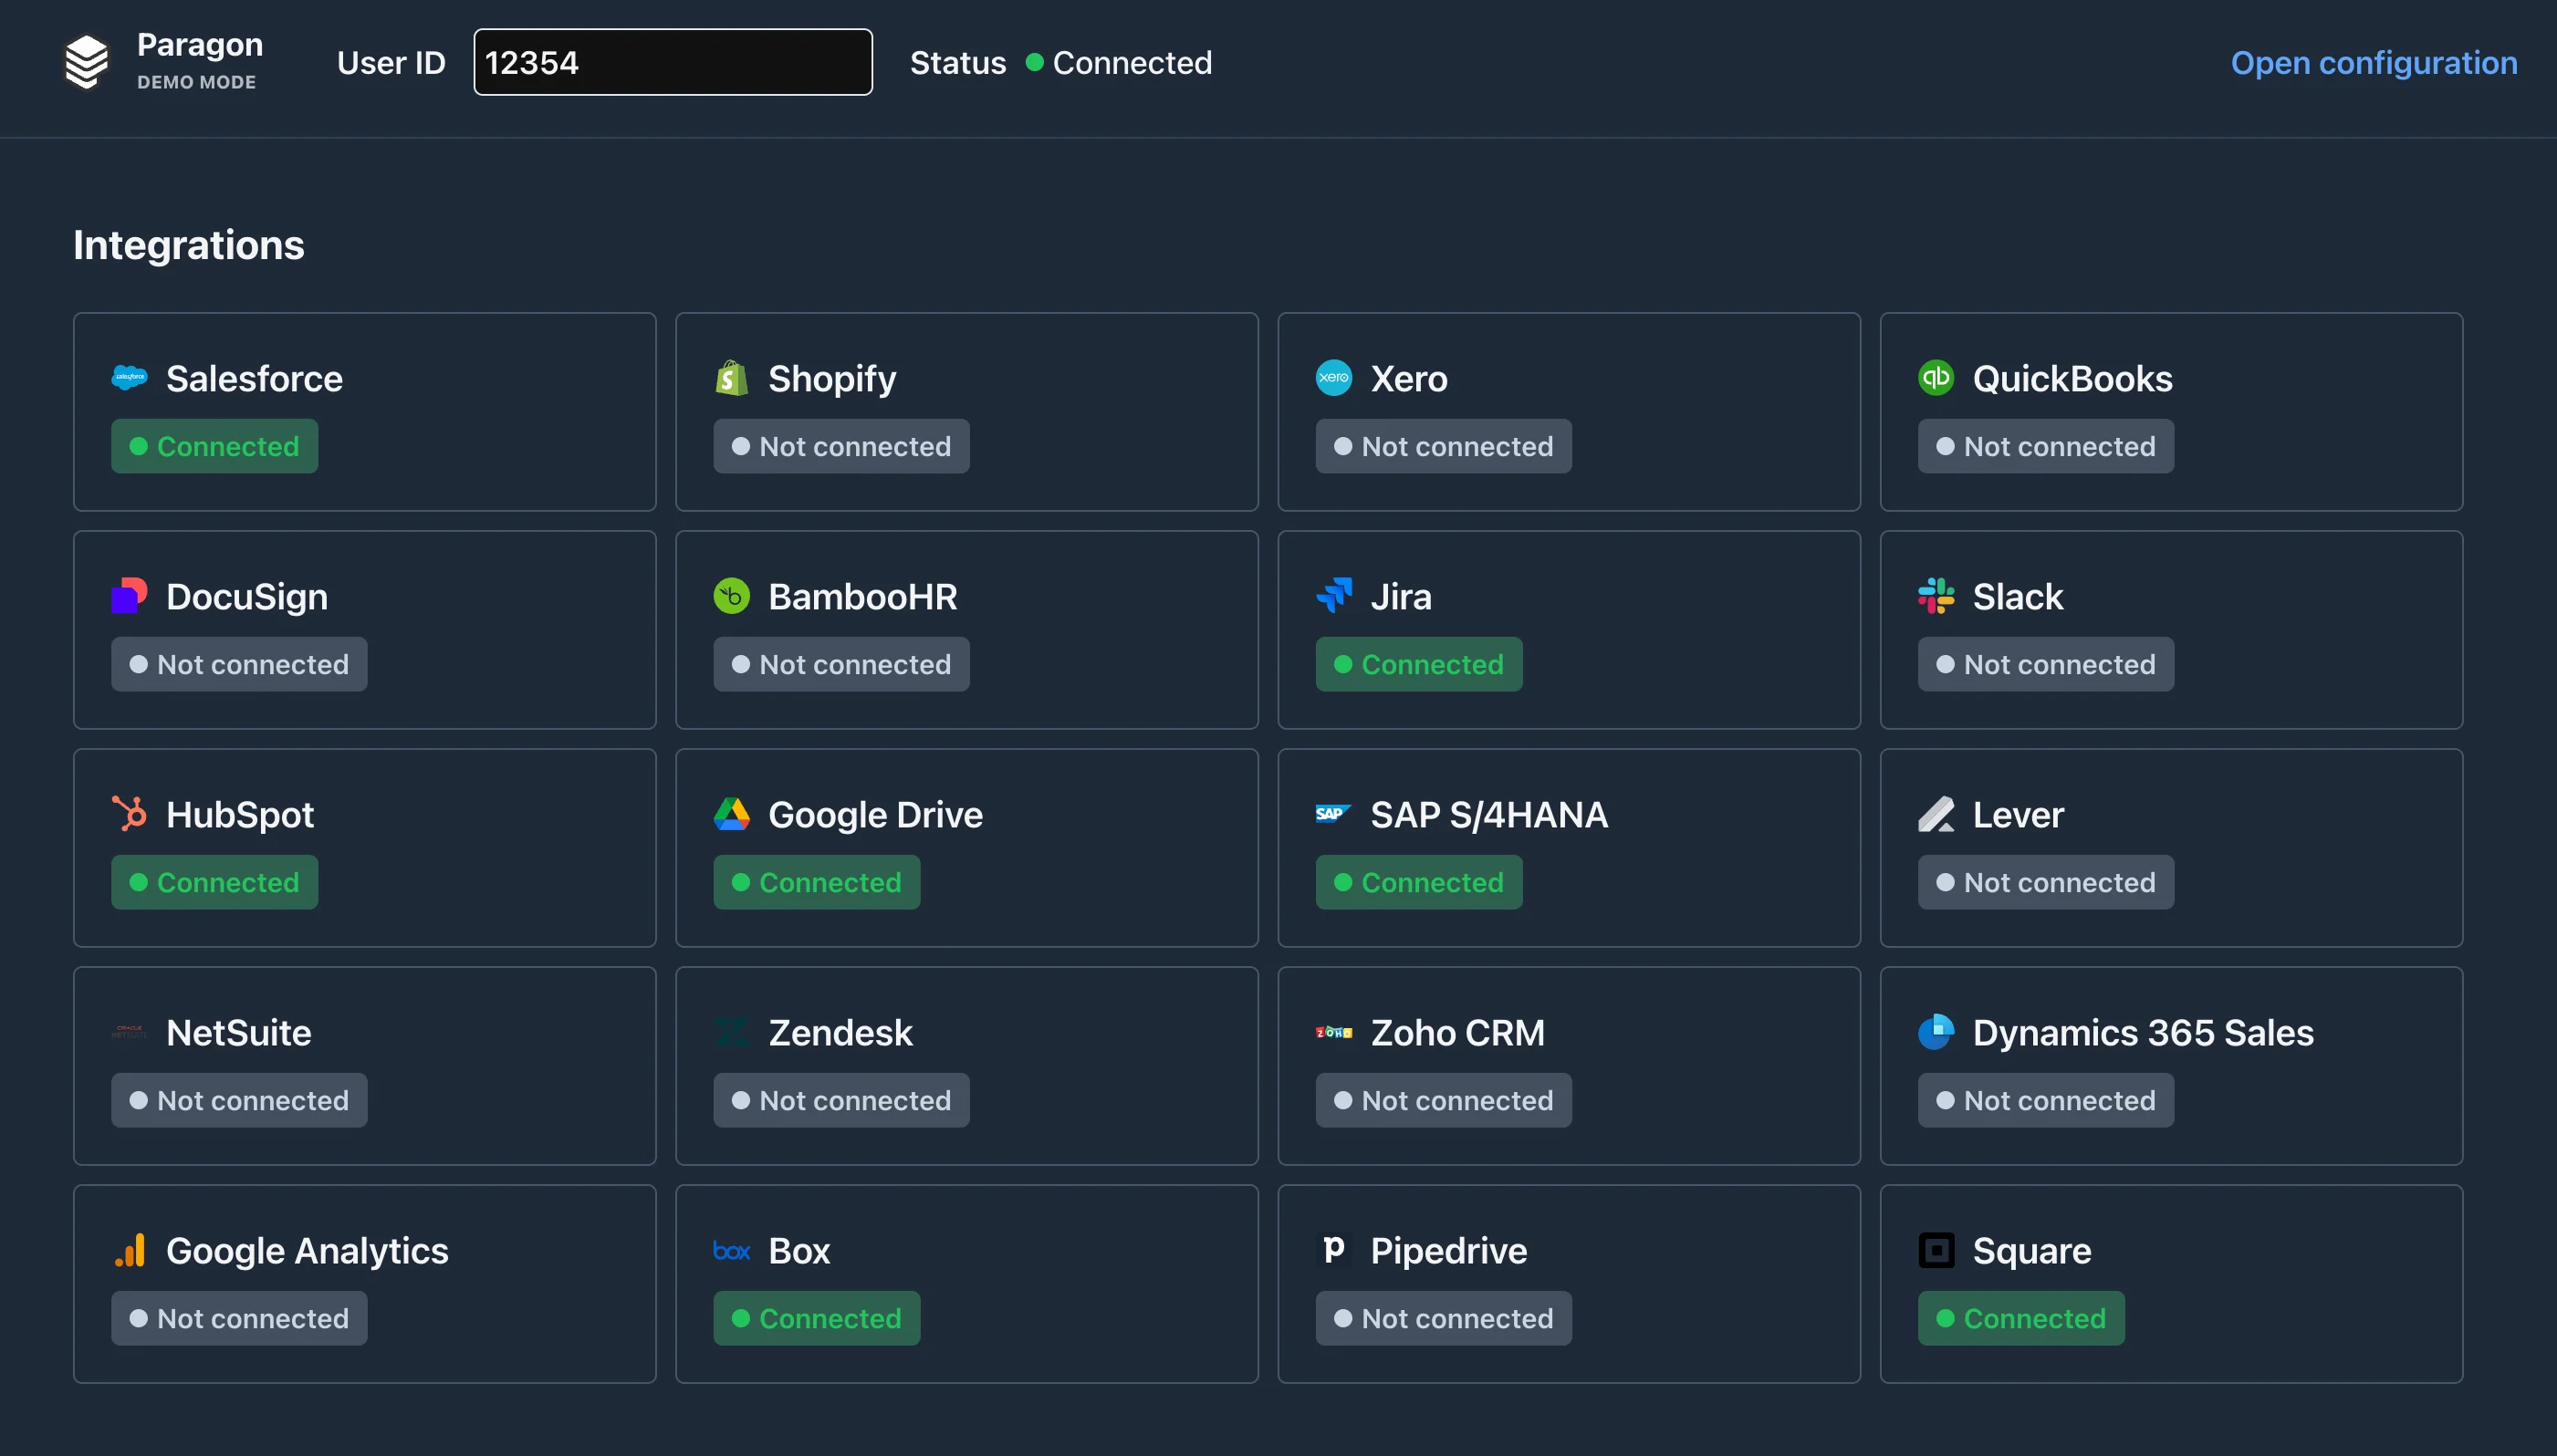 This allows you to test your workflow logic in a production-like environment without adding more code to your application today.
Use the Paragon Hosted Demo Environment to test integration logic for on-premise instances by adding the host query parameter with your instance URL:
`https://demo.useparagon.com/demo?host=``{your_instance_url}`
Example:
`https://demo.useparagon.com/demo?host=https://integrations.tasklab.com`
## Getting Started
To get started:
1. Click “**Open Configuration**”
2. Input your Paragon Project ID. Your Project ID can be found in the URL of your Paragon Dashboard.
3. Input a Signing Key. You can create a Signing Key if you don’t already have one by going to Settings > SDK Setup and select “**Generate a New Signing Key**”.
4. Input a User ID. This is an example id based on a user / company in your application.
Your account will then be connected to the demo and you will be able to view any integrations marked “`Active`” in your Paragon Dashboard.
You can quickly [send data](/workflows/triggers) to Paragon through your browser’s console to test the functionality of sending it from your application. Using the [Monitoring](/monitoring/overview) page, you can verify that your workflows were successfully triggered.
## Testing Workflows
Once you've connected to an integration, you can test any of the workflows for the integration.
### Via SDK
1. In your browser, right-click anywhere on the page and select “**Inspect**” to open the Developer Console.
2. Within the Developer Console, click on the **Console** tab to access the JavaScript console.
3. Copy the SDK call that triggers the desired workflow and paste it into the Console. [View triggers](/workflows/triggers).
4. Press `Enter` to send the SDK call and trigger the workflow.
### Via REST API
1. Navigate to a website or application you can use to test API requests, like Postman.
2. Copy the REST API call that triggers the desired workflow and paste it into the URL input. [View triggers](/workflows/triggers).
3. Use [Paragon's JWT Generator](https://jwt.useparagon.com/) to generate a JWT for the example user / company ID you provided earlier.
4. Under **Authentication**, select **Bearer Token** and paste the created JWT.
5. Press `Send` to send the REST API call and trigger the workflow.
## Validating Executions
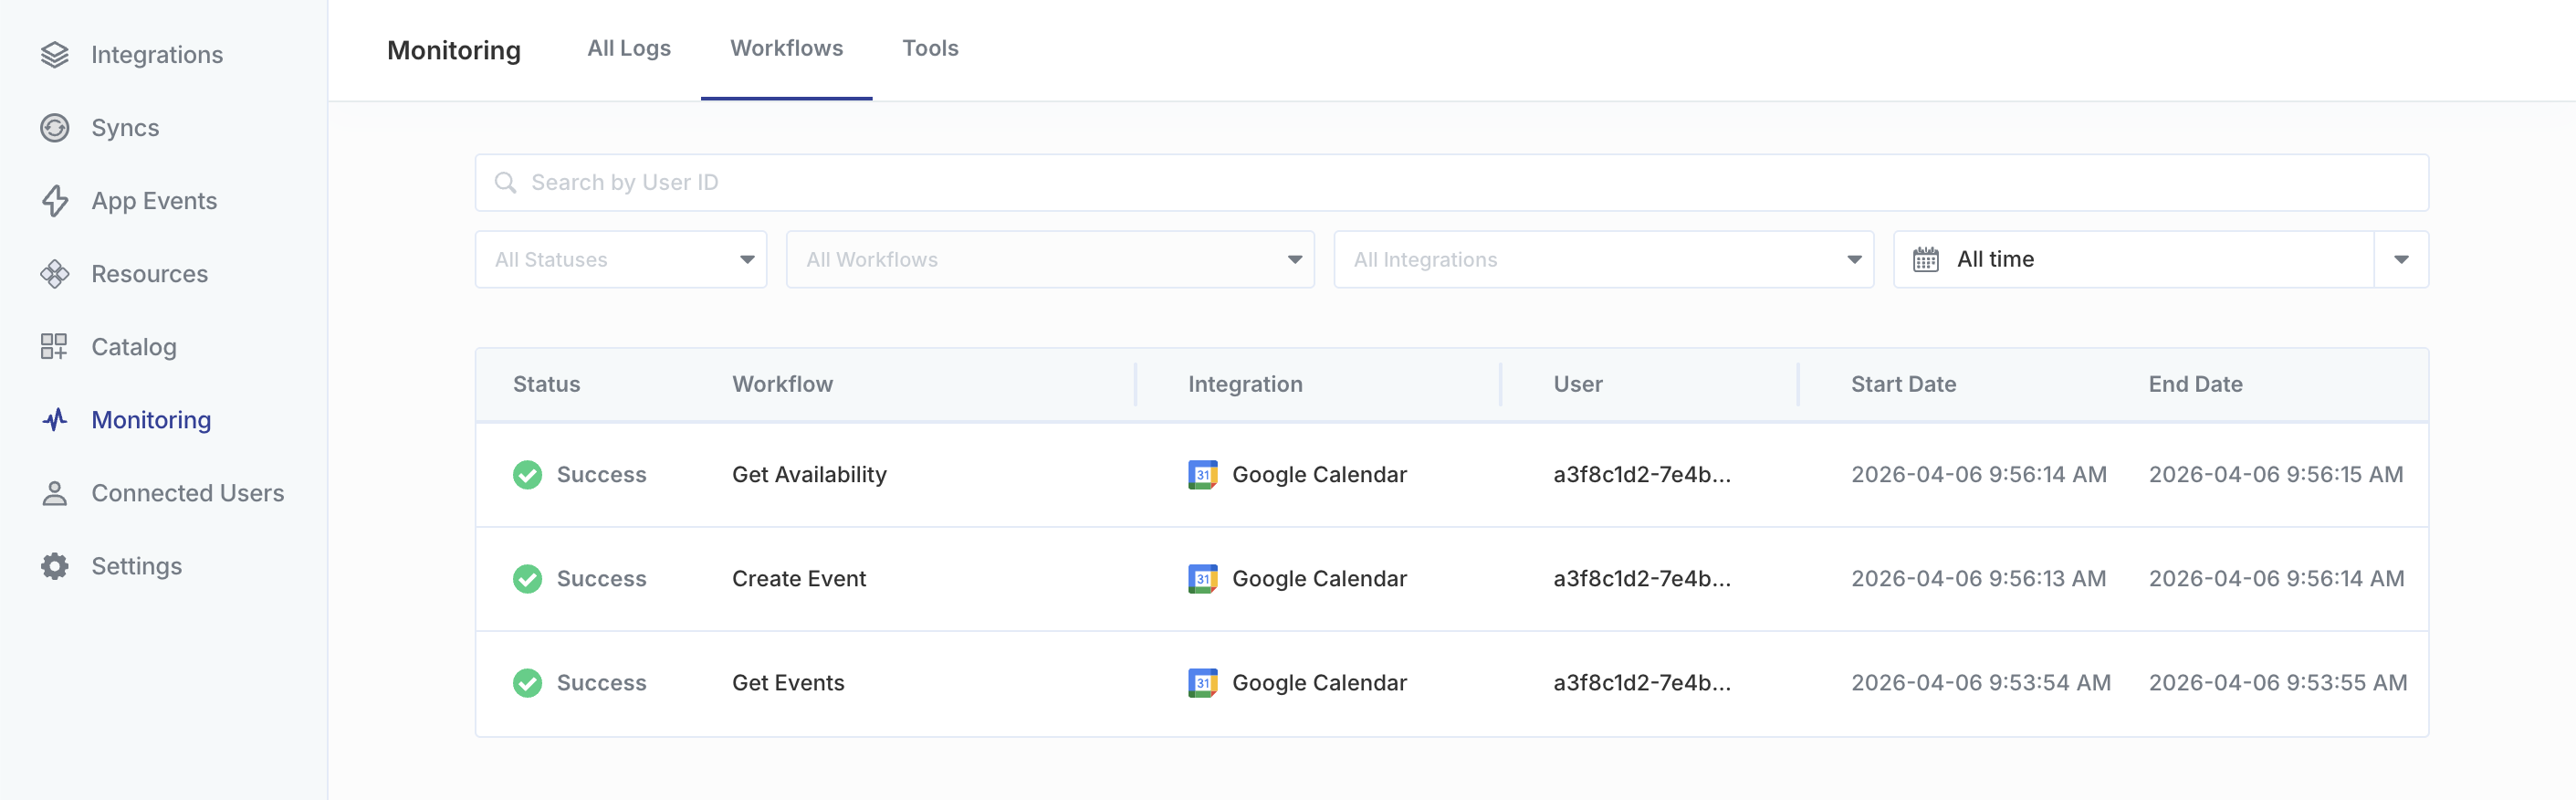
After triggering a workflow, you can view your workflow execution in the [Monitoring](/workflows/viewing-workflow-executions) page.
This allows you to test your workflow logic in a production-like environment without adding more code to your application today.
Use the Paragon Hosted Demo Environment to test integration logic for on-premise instances by adding the host query parameter with your instance URL:
`https://demo.useparagon.com/demo?host=``{your_instance_url}`
Example:
`https://demo.useparagon.com/demo?host=https://integrations.tasklab.com`
## Getting Started
To get started:
1. Click “**Open Configuration**”
2. Input your Paragon Project ID. Your Project ID can be found in the URL of your Paragon Dashboard.
3. Input a Signing Key. You can create a Signing Key if you don’t already have one by going to Settings > SDK Setup and select “**Generate a New Signing Key**”.
4. Input a User ID. This is an example id based on a user / company in your application.
Your account will then be connected to the demo and you will be able to view any integrations marked “`Active`” in your Paragon Dashboard.
You can quickly [send data](/workflows/triggers) to Paragon through your browser’s console to test the functionality of sending it from your application. Using the [Monitoring](/monitoring/overview) page, you can verify that your workflows were successfully triggered.
## Testing Workflows
Once you've connected to an integration, you can test any of the workflows for the integration.
### Via SDK
1. In your browser, right-click anywhere on the page and select “**Inspect**” to open the Developer Console.
2. Within the Developer Console, click on the **Console** tab to access the JavaScript console.
3. Copy the SDK call that triggers the desired workflow and paste it into the Console. [View triggers](/workflows/triggers).
4. Press `Enter` to send the SDK call and trigger the workflow.
### Via REST API
1. Navigate to a website or application you can use to test API requests, like Postman.
2. Copy the REST API call that triggers the desired workflow and paste it into the URL input. [View triggers](/workflows/triggers).
3. Use [Paragon's JWT Generator](https://jwt.useparagon.com/) to generate a JWT for the example user / company ID you provided earlier.
4. Under **Authentication**, select **Bearer Token** and paste the created JWT.
5. Press `Send` to send the REST API call and trigger the workflow.
## Validating Executions
After triggering a workflow, you can view your workflow execution in the [Monitoring](/workflows/viewing-workflow-executions) page.